As the weather gets hotter, it’s important to have a working air conditioner at home or in your office. Whether you’re setting up a new system or fixing an old one, knowing the basics of air conditioning installation and repair can make a big difference. This guide is perfect for beginners who want to understand the process in a simple way.
Step 1: Choose the Right Spot
Before anything else, pick the best place for your air conditioner. It should be on a strong wall or window that can hold the weight. Make sure it’s close to a power outlet for easy connection.
Step 2: Clean and Prepare the Area
Clear the area where the aircon will go. Remove any dust or trash that might get in the way. Check the wiring too. It should match the power needs of the unit. If not, fix it before the installation starts.
Step 3: Install the Mounting Bracket
The aircon installation begins with placing a strong bracket on the wall or window. This helps hold the unit safely in place. For split ACs, the bracket goes on the wall. For window units, it fits inside the window frame.
Step 4: Set Up the Indoor Unit (for Split ACs)
Once the bracket is ready, attach the indoor part of the split AC. It should be level and tight so it doesn’t shake or make noise. A straight, level setup helps the aircon work better.
Step 5: Install the Outdoor Unit (for Split ACs)
Now it’s time to place the outdoor unit. Put it on a flat, solid surface with enough space around it. This helps the unit release heat properly and keep air flowing freely.
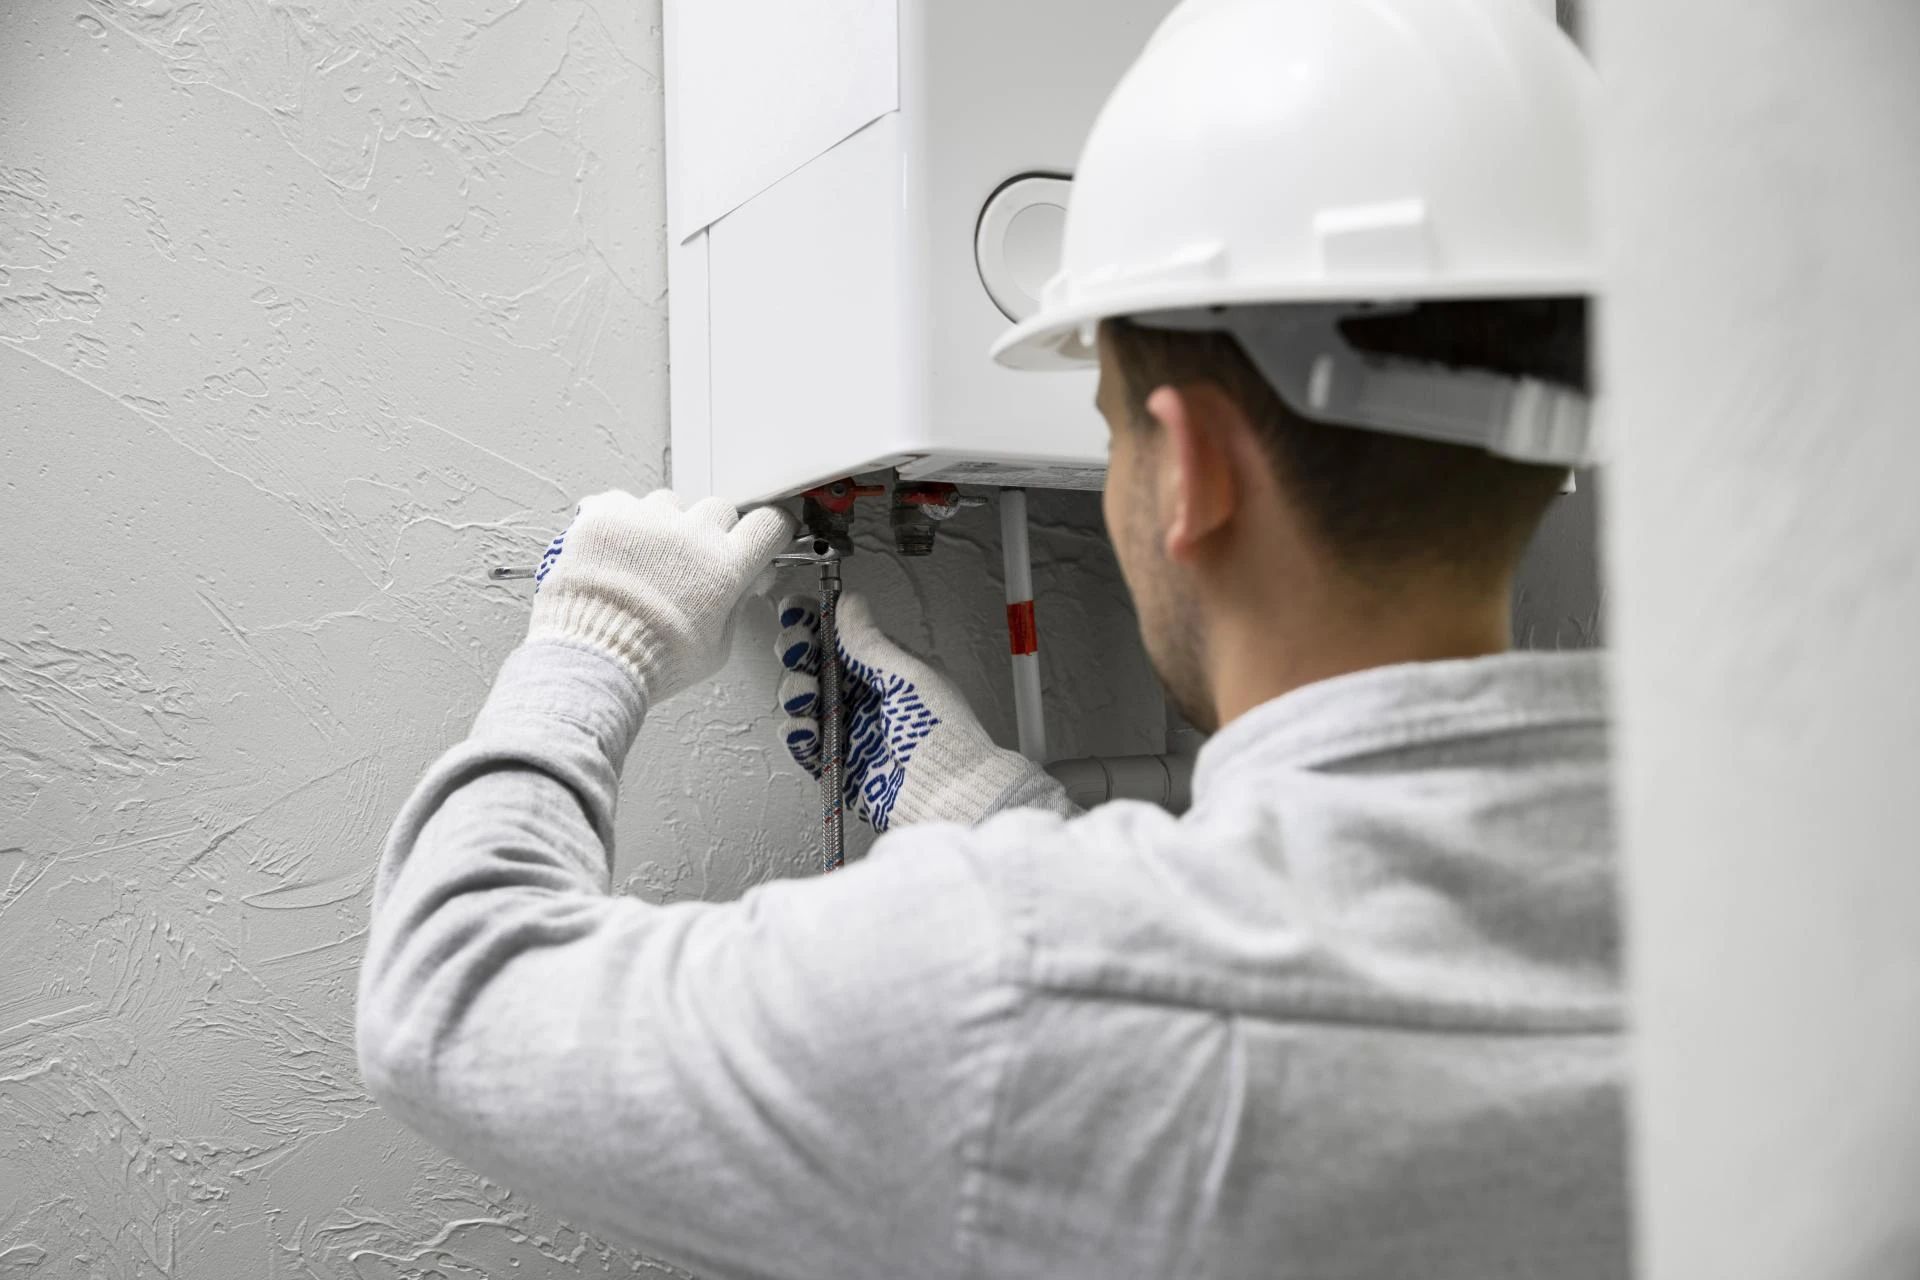
Step 6: Connect the Wires and Pipes
Wiring and connecting the refrigerant pipes should be done carefully. If not done right, it can cause problems like leaks or short circuits. Following the manufacturer’s instructions is very important here.
Step 7: Test the Air Conditioner
After everything is connected, turn the air conditioner on to check if it works properly. Listen for any strange sounds and check if it cools the room as expected.
Step 8: Seal Window Gaps (for Window ACs)
If you’re installing a window AC, seal any gaps around the unit using foam or weatherstrips. This keeps the cool air in and helps save energy.
Step 9: Make Final Checks
Before you’re done, double-check everything. Look for loose wires, leaks, or airflow problems. Fix anything that doesn’t seem right so your system runs smoothly.
Step 10: Clean Up
Once the job is finished, clean up the area. Remove all packaging and tools used during the air conditioning installation. A clean space means a fresh start with your new aircon!
Conclusion
Getting your air conditioner installed the right way helps it work better, last longer, and keep your space cool and comfortable. Whether you’re setting up a new unit or doing some simple repairs, taking the time to follow each step carefully is always worth it. If you need help, a trusted commercial air conditioning installation company can make sure everything is done safely and correctly. So, stay cool, save energy, and enjoy the comfort of a well-installed aircon system all summer long!


Sign in to leave a comment.