Revitalizing your bathroom is more than just a home upgrade—it’s an investment in comfort, functionality, and the long-term value of your property. Whether you’re a seasoned DIY enthusiast or a first-time renovator, staying organized is crucial. In this detailed guide, we break down the must-follow checklist for bathroom repairs and renovations—with a special focus on bathroom wall repair and bathroom floor repair—to help you avoid pitfalls and enjoy the transformation process.
Why an Organized Approach Matters
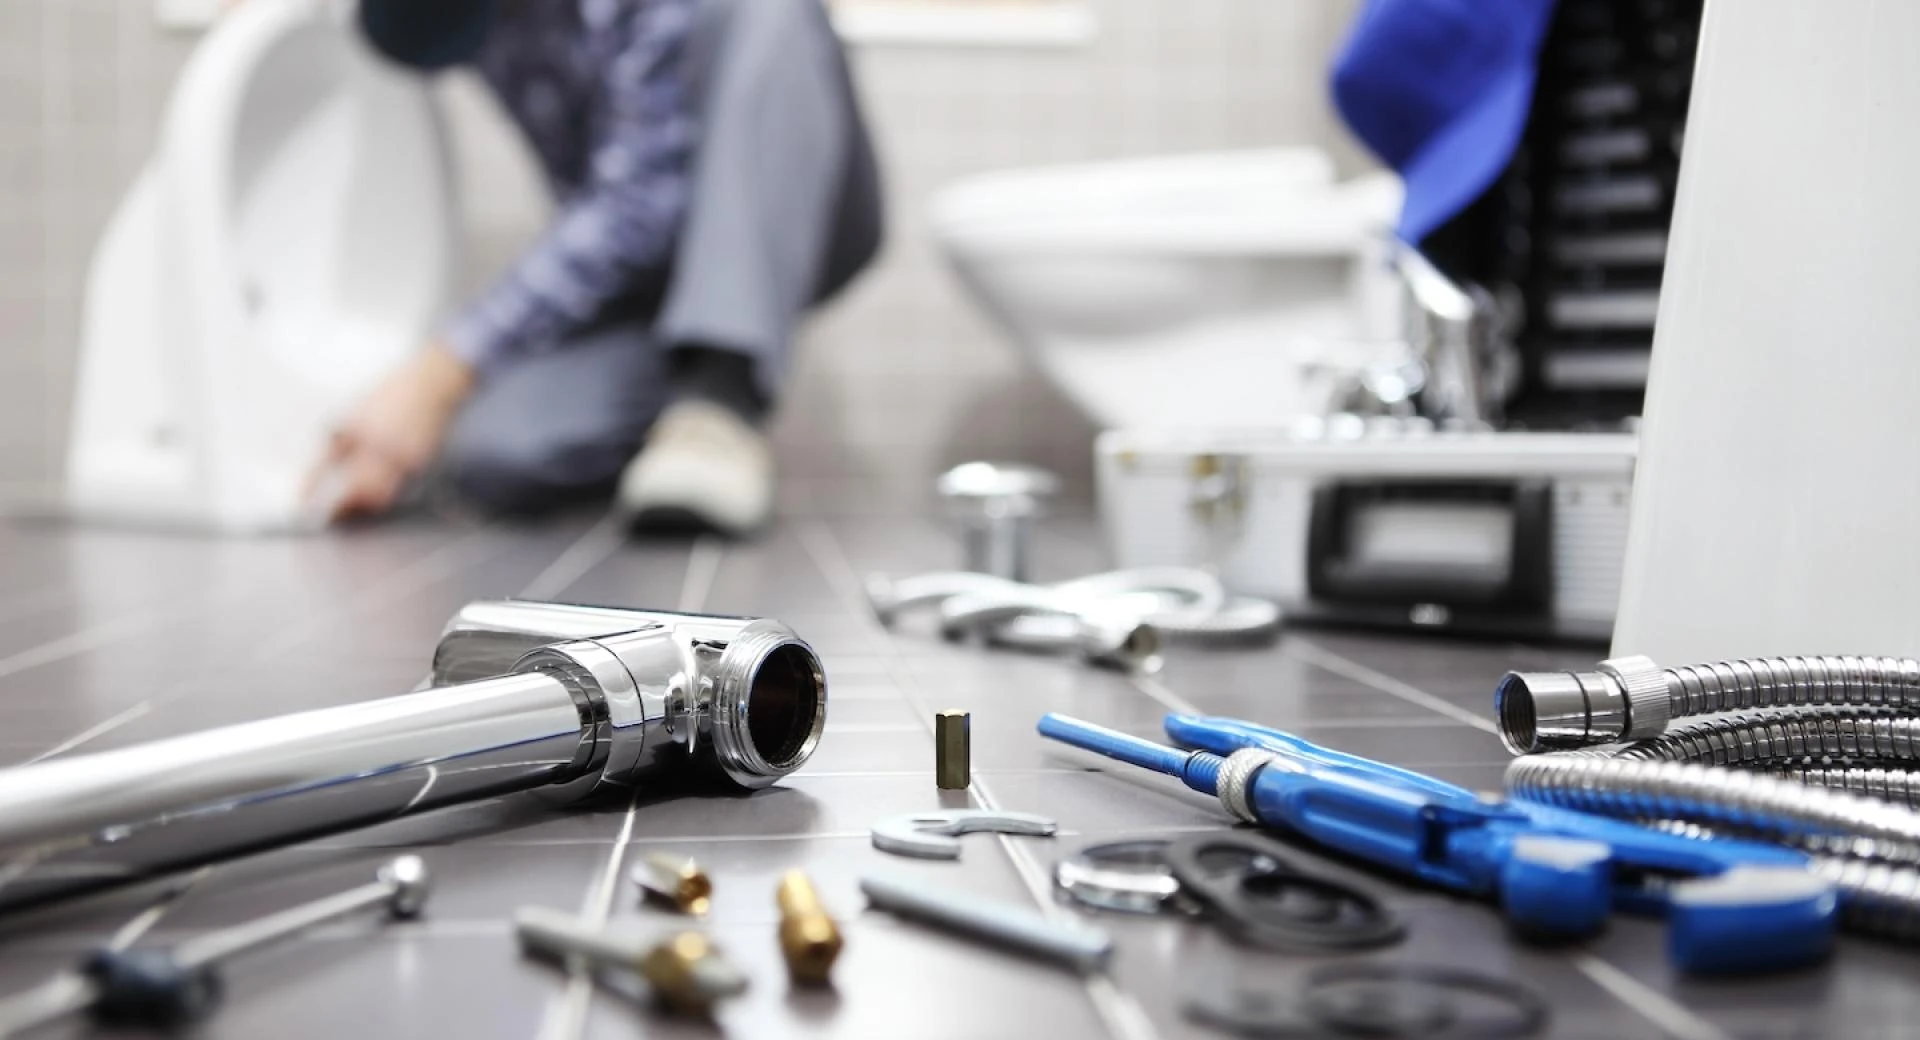
A bathroom is one of the busiest—and wettest—rooms in any home. Over time, even the most well-built bathroom can suffer from moisture damage, cracked tiles, or outdated fixtures. Tackling bathroom repairs and renovations by following a step-by-step plan not only minimizes surprises but also maximizes results. Partnering with experienced brands like Refresh Renovations ensures that your efforts deliver a lasting solution instead of temporary fixes.
1. Initial Assessment and Planning
Inspect for Damage
Begin by thoroughly evaluating your bathroom. A keen eye now can save you headaches later. Look for:
- Leaks around fixtures or plumbing
- Water stains or soft spots on walls and floors
- Mold or mildew, especially in corners or behind fixtures
- Cracked, chipped, or loose tiles
- Peeling paint or bubbled wallpaper
Noticing any of the above means it’s time for bathroom wall repair or bathroom floor repair. Document each issue with notes and photos.
Define Your Goals and Budget
What’s your primary aim? Do you want a quick fix, or are you planning a full renovation? Defining your goals will help guide decisions throughout the project.
- Targeted repairs: Cost-effective, focuses on bathroom wall repair or bathroom floor repair for isolated problems.
- Full renovation: Comprehensive update that addresses layout, design, and all underlying issues.
Set a realistic budget, factoring in:
- Materials (tiles, grout, paints, waterproof barriers)
- Tools and labor (especially if hiring professionals like Refresh Renovations)
- Contingency (typically 10–20% extra for surprises)
Measure Your Space
Precise measurements prevent costly mistakes. Measure all walls, floors, and fixture layouts. This info is essential for ordering materials and planning the scope.
Design and Compliance
Next, sketch a simple layout of your desired result. Consider:
- Do you want to move plumbing or electrical outlets?
- Interested in new tile patterns or colors?
- Planning to add a walk-in shower or additional storage?
Always check local building codes and Healthy Home standards. In New Zealand, you may need permits for electrical or plumbing changes—Refresh Renovations provides guidance if you’re unsure.
2. Preparation and Safety
Clear the Area
Remove all personal items, towels, and décor. Take out as many fixtures as possible (mirrors, cabinets, shelves). For major renovations, you may need to temporarily remove sinks or toilets.
Gather Your Tools and Materials
For a well-prepared project, assemble these essentials:
- Pry bar, utility knife, and screwdrivers
- Spackling compound or drywall repair kits
- Moisture-resistant drywall ("greenboard") for bathroom wall repair
- Waterproofing membranes and tiling supplies
- Replacement tiles, grout, or vinyl panels for bathroom floor repair
- Sandpaper, joint compound, mesh tape, caulk
- Personal protective equipment (gloves, goggles, masks)
Protect the Rest of Your Home
Lay down covers or plastic sheeting to prevent dust from spreading. Seal doorways if you’re doing major demolition work.
3. Bathroom Wall Repair
 Common Wall Problems
Moisture is the enemy of bathroom walls. Look out for:
- Water-damaged or discolored drywall
- Peeling, cracking, or moldy paint
- Holes left from fixtures or accidental impact
Step-By-Step Wall Repair
1. Identify and Remove Damaged Material
Use a stud finder to locate pipes/wiring. Cut out wet or crumbling drywall. For small holes, a utility knife may suffice; for larger areas, remove a section back to the nearest studs.
2. Dry and Prep the Area
Allow the area to fully dry. For mold, scrub with a solution of water and vinegar or a commercial mold remover.
3. Install New Drywall or Patches
- Small holes: Fill with spackle or joint compound, smooth with a putty knife.
- Larger repairs: Cut a piece of moisture-resistant “greenboard” to fit. Secure to wall studs, using mesh tape to reinforce seams.
4. Finish, Sand, and Seal
Apply joint compound in thin coats. Let dry, then sand smooth. Repeat as needed. Once flush, prime the area and paint with a waterproof bathroom paint. If tiles were removed, prepare to retile.
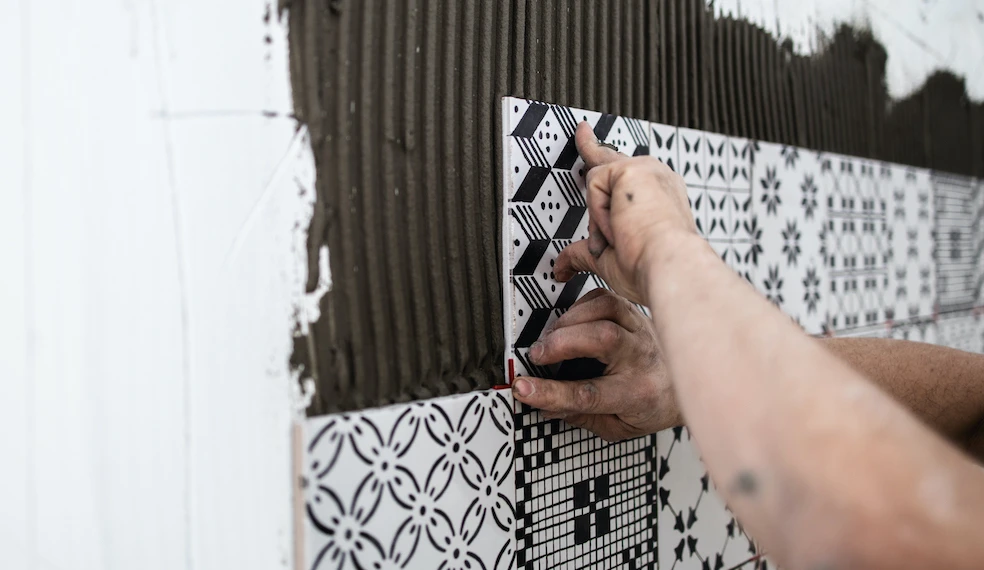
5. Retile or Refinish
Apply tile adhesive. Lay tiles with even spacing, using spacers for uniform grout lines. Once adhesive sets, grout the joints and seal with high-quality caulk.
Tip: For complex issues—or if you encounter widespread moisture damage—Refresh Renovations can offer expert assessment and repairs that stand the test of time.
4. Bathroom Floor Repair
Typical Floor Issues
Bathroom floors are prime targets for leaks and floods. Watch for:
- Soft, bouncy, or musty-smelling subfloor
- Cracked, chipped, or lifting tiles
- Grout crumbling away
- Unpleasant, persistent odors indicating moisture beneath the floor
Step-By-Step Floor Repair
1. Inspect and Remove Fixtures
Before ripping up anything, carefully disconnect toilets, vanities, and baseboards if necessary. Take photos for reference when reassembling.
2. Remove Old Flooring
Use a pry bar to lift damaged tiles or panels. Be patient and avoid harming nearby good tiles. Vacuum as you go to keep the area clean.
3. Inspect and Repair Subfloor
Soft spots mean the subfloor has been compromised. Cut out damaged sections, replacing them with new plywood or cement board. Ensure all surfaces are dry and level.
4. Install a Moisture Barrier
Lay a waterproof membrane before re-tiling or laying new vinyl. This step is often overlooked in bathroom repairs and renovations, but it’s vital for long-term protection.
5. Install New Flooring
- Tiles: Apply adhesive, press tiles firmly, and allow to set. Grout lines evenly, and let them cure before use.
- Vinyl or Laminate: Follow manufacturer’s guidelines, ensure seams are tightly pressed, and edges are sealed.
6. Reinstall Fixtures and Seal
Return toilets, vanities, and trim. Use silicon caulk around all edges where flooring meets walls or shower to prevent water intrusion.
Pro Insight: Floor repairs gone wrong can be costly and disruptive. If water issues are extensive, working with Refresh Renovations can streamline complex repairs and guarantee reliable waterproofing.
5. Final Touches and Inspection
Add Style and Function
Now, the fun part—making your bathroom shine:
- Paint walls or paper with moisture-resistant options
- Reinstall mirrors, towel racks, and other hardware
- Upgrade lighting for a brighter, more energy-efficient space
Boost Safety and Comfort
Install GFCI outlets for electrical safety. Add a strong exhaust fan to tackle humidity. Well-ventilated bathrooms last longer and deter mold growth.
Test All Systems
Run taps, flush toilets, and test drains. Watch for leaks, check that all fixtures are secure, and verify proper ventilation.
Clean Up and Review
Clear away all dust, tools, and debris. Wipe down every surface. Review your completed work—or walk through with your Refresh Renovations project manager—to ensure every detail meets expectations.
6. Pro Tips for Longevity
- Regularly inspect grout and caulk, especially around tubs and showers.
- Clean tiles gently but frequently to avoid buildup.
- Use only water-resistant paints, panels, and adhesives in your bathroom.
- Know when to DIY and when to call Refresh Renovations for professional support, especially for plumbing or electrical tasks.
Transforming your bathroom is an opportunity to invest in your home’s comfort, style, and durability. By following this bathroom repairs and renovations checklist—and focusing on bathroom wall repair and bathroom floor repair—you can ensure your project is a resounding success. For peace of mind and polished results, remember that Refresh Renovations offers expertise that turns visions into reality.
FAQs on Bathroom Repairs and Renovations
1. How do I know if my bathroom needs immediate repairs or a full renovation?
Minor issues like chipped paint, small tile cracks, or loose fixtures are usually solved with targeted bathroom wall repair or bathroom floor repair. If you notice persistent mold, soft walls or floors, recurring leaks, or outdated infrastructure, a comprehensive renovation led by Refresh Renovations may be best.
2. What’s the most overlooked step in bathroom repairs and renovations?
The most common oversight is skipping proper waterproofing. Moisture barriers—under tiles or behind walls—are critical to preventing future problems and prolonging the life of your upgrades.
3. Can I save money by doing my own bathroom repairs and renovations?
Small repairs are achievable with the right tools and instructions. But tasks involving plumbing, electrical, or structural changes are best handled by professionals like Refresh Renovations for safety and to meet local building codes. Properly completed work adds real value to your home and prevents costly mistakes.


Sign in to leave a comment.