
Understanding Vinyl Flooring and Its Benefits
What Makes Vinyl Flooring a Popular Choice
Vinyl flooring has become a reliable choice for both domestic and commercial spaces due to its resilience, affordability, and minimal upkeep. Designed to handle daily foot traffic, it resists water, stains, and scuffs, making it particularly suitable for kitchens, bathrooms, and busy living areas. Beyond its performance, vinyl also offers aesthetic flexibility, with realistic finishes that mimic wood, stone, or ceramic without the associated cost or maintenance.
Another reason for its popularity lies in how easy it is to install. Many homeowners and trade professionals appreciate that vinyl flooring can be fitted quickly, even over certain types of existing surfaces. Its compatibility with underfloor heating and sound insulation underlay further adds to its appeal, making it a practical solution for those upgrading their floors without extensive disruption.
Different Types of Vinyl Flooring Available
Vinyl flooring comes in several forms, each with distinct fitting methods and structural qualities. The most common types include sheet vinyl, luxury vinyl tiles (LVT), and click-lock planks. Sheet vinyl is often used in larger rooms where seamless coverage is preferred. LVT offers modularity and style, while click-lock planks allow for floating installations, which are ideal for DIY projects.
Each option provides unique advantages depending on the intended space. While sheet vinyl is budget-friendly and quick to lay, LVT brings added durability and design detail. Click-lock vinyl is especially suited for installation over tile or concrete, as it often includes an integrated underlay that compensates for minor imperfections in the subfloor.
Cheapest Vinyl Flooring UK – What to Expect
When searching for the cheapest vinyl flooring UK options, shoppers will find that affordability doesn’t necessarily mean sacrificing quality. Many suppliers offer budget-friendly vinyl that meets essential durability standards and maintains visual appeal. These options often come in neutral shades and basic patterns, ideal for landlords or homeowners managing renovation costs.
Budget vinyl typically includes sheet formats or basic click-lock tiles, which can be installed over existing floors with minimal preparation. However, even with the most affordable choices, it’s important to consider warranty length, thickness, and slip resistance ratings to ensure long-term satisfaction and compliance with UK building regulations.
Preparing to Install Vinyl Flooring Over Existing Surfaces
Key Considerations for Tile or Concrete Bases
Before laying any vinyl, the condition and type of the existing floor must be assessed. Tile and concrete are both acceptable bases, but each comes with its own preparation needs. Vinyl must be laid on a stable, clean, and dry surface to prevent shifting, bubbling, or premature wear. Loose or cracked tiles, damp patches, or dust-covered concrete can interfere with adhesion and compromise the final result.
In older properties, subfloors may be uneven or include small height differences across rooms. These need to be addressed during preparation. A self-levelling compound can smooth imperfections on concrete, while grout lines between tiles may need filling to create a seamless base. Understanding these conditions before installation ensures the new floor performs as intended.
Assessing the Condition of the Current Floor
A proper inspection is essential to avoid long-term problems. Tiled floors should be examined for cracks, loose sections, and deep grout lines. If any tiles move underfoot or sound hollow, they must be removed or stabilised before installing vinyl. Even small dips between tiles can cause visible ridges once the vinyl is in place.
For concrete bases, look for signs of moisture or damage. Efflorescence or flaking may indicate ongoing damp, which can lead to adhesive failure or mildew growth. Moisture metres or simple sheet tests can help identify if the concrete is too damp for vinyl. Remedial steps such as a damp-proof membrane or moisture-resistant underlay may be required in such cases.
Cleaning and Levelling Requirements
Cleanliness is non-negotiable when installing vinyl over tile or concrete. Any debris, dust, grease, or residue can weaken adhesion and affect the smoothness of the surface. Thorough sweeping, vacuuming, and if needed, degreasing with a pH-neutral solution will help achieve a clean base.
Levelling compounds are especially useful when dealing with irregular concrete or deep grout lines between tiles. These products spread across the surface and harden to create a smooth finish. While vinyl flooring can tolerate minor flaws, starting with a properly levelled base is key to avoiding visible seams or early material degradation over time.
Installing Vinyl Over Tile
When Is Tile a Suitable Base?
Vinyl can be successfully installed over tiled surfaces, provided they are firmly fixed and the grout lines are not excessively deep. Ceramic, porcelain, or stone tiles with a flat, stable base form an ideal platform. The key requirement is surface integrity—if the tile floor is uneven, cracked, or unstable, it needs repair before installation can proceed.
Tiled floors should be evaluated for height variation. Excessive height differences between tiles may be felt through thin vinyl sheets. In such cases, self-levelling compounds or thicker underlays can create the evenness required for a smooth finish. Without this preparation, imperfections may telegraph through the vinyl over time.
Handling Grout Lines and Unevenness
Deep grout lines between tiles can lead to vinyl settling into the gaps, especially with thinner sheets. This results in an unattractive, textured appearance that becomes more noticeable as the material wears. To avoid this, grout lines should be filled with floor leveller or a suitable compound.
Once the surface has been levelled and dried, sanding can remove any final inconsistencies before the vinyl is laid. Some installers choose to prime the floor afterwards to enhance adhesive performance. Taking the time to eliminate dips and ridges ensures that the new flooring appears seamless and professional.
Using Underlay with Vinyl Over Tile
An underlay can provide a buffer between the tile surface and the vinyl, improving insulation, sound absorption, and comfort underfoot. It also helps to mask minor imperfections and reduce the risk of telegraphing. However, not all vinyl products require underlay—some, particularly click-lock systems, include an integrated layer.
When using separate underlay, it’s important to choose a type compatible with vinyl, especially in rooms prone to moisture like kitchens or bathrooms. Foam and fibreboard are popular options, but they must be water-resistant. Underlay also impacts the final floor height, so door clearance and trim placement should be adjusted accordingly.
Installing Vinyl Over Concrete
Moisture Testing and Prevention
Concrete is naturally porous and may absorb or retain moisture, which poses a risk to vinyl flooring if not properly treated. Before installation, it’s vital to test the slab using either a moisture metre or a plastic sheet taped to the surface for 24–48 hours. Condensation or damp patches beneath the sheet suggest high moisture content.
If moisture is detected, a damp-proof membrane should be applied. This can be a liquid-applied sealer or a sheet barrier designed to block moisture migration. Skipping this step risks adhesive failure, warping, or mould growth under the vinyl. A dry, sealed surface is the foundation of a long-lasting vinyl installation over concrete.
Dealing with Surface Imperfections
Concrete floors may appear solid, but they often feature cracks, pitting, or height inconsistencies that need correction. Even minor divots can become visible under thinner vinyl products. A self-levelling compound is the most effective way to smooth out rough patches and fill any gaps, creating an even finish for installation.
In older homes or garages converted into living spaces, concrete might have worn patches or crumbling edges. These areas should be reinforced with a concrete repair compound before any levelling work. Starting with a stable, even surface helps prevent any visual or structural issues developing once the flooring is in place.
Adhesive vs Loose Lay on Concrete
Vinyl flooring over concrete can be installed using several methods, depending on the product and room conditions. Fully-adhered vinyl uses glue to fix the material directly to the subfloor, offering a secure bond and minimal movement. This is ideal for high-traffic areas or where moisture resistance is a concern.
Loose lay vinyl relies on the material’s weight and friction to stay in place, sometimes with perimeter bonding. This method is faster and less invasive, and it allows for easy removal or replacement. It’s most effective in smaller rooms where heavy furniture helps hold the floor in place. The chosen installation method should reflect the intended use and specific conditions of the room.
Choosing the Right Vinyl Flooring
Tile Effect Vinyl Flooring and Other Styles
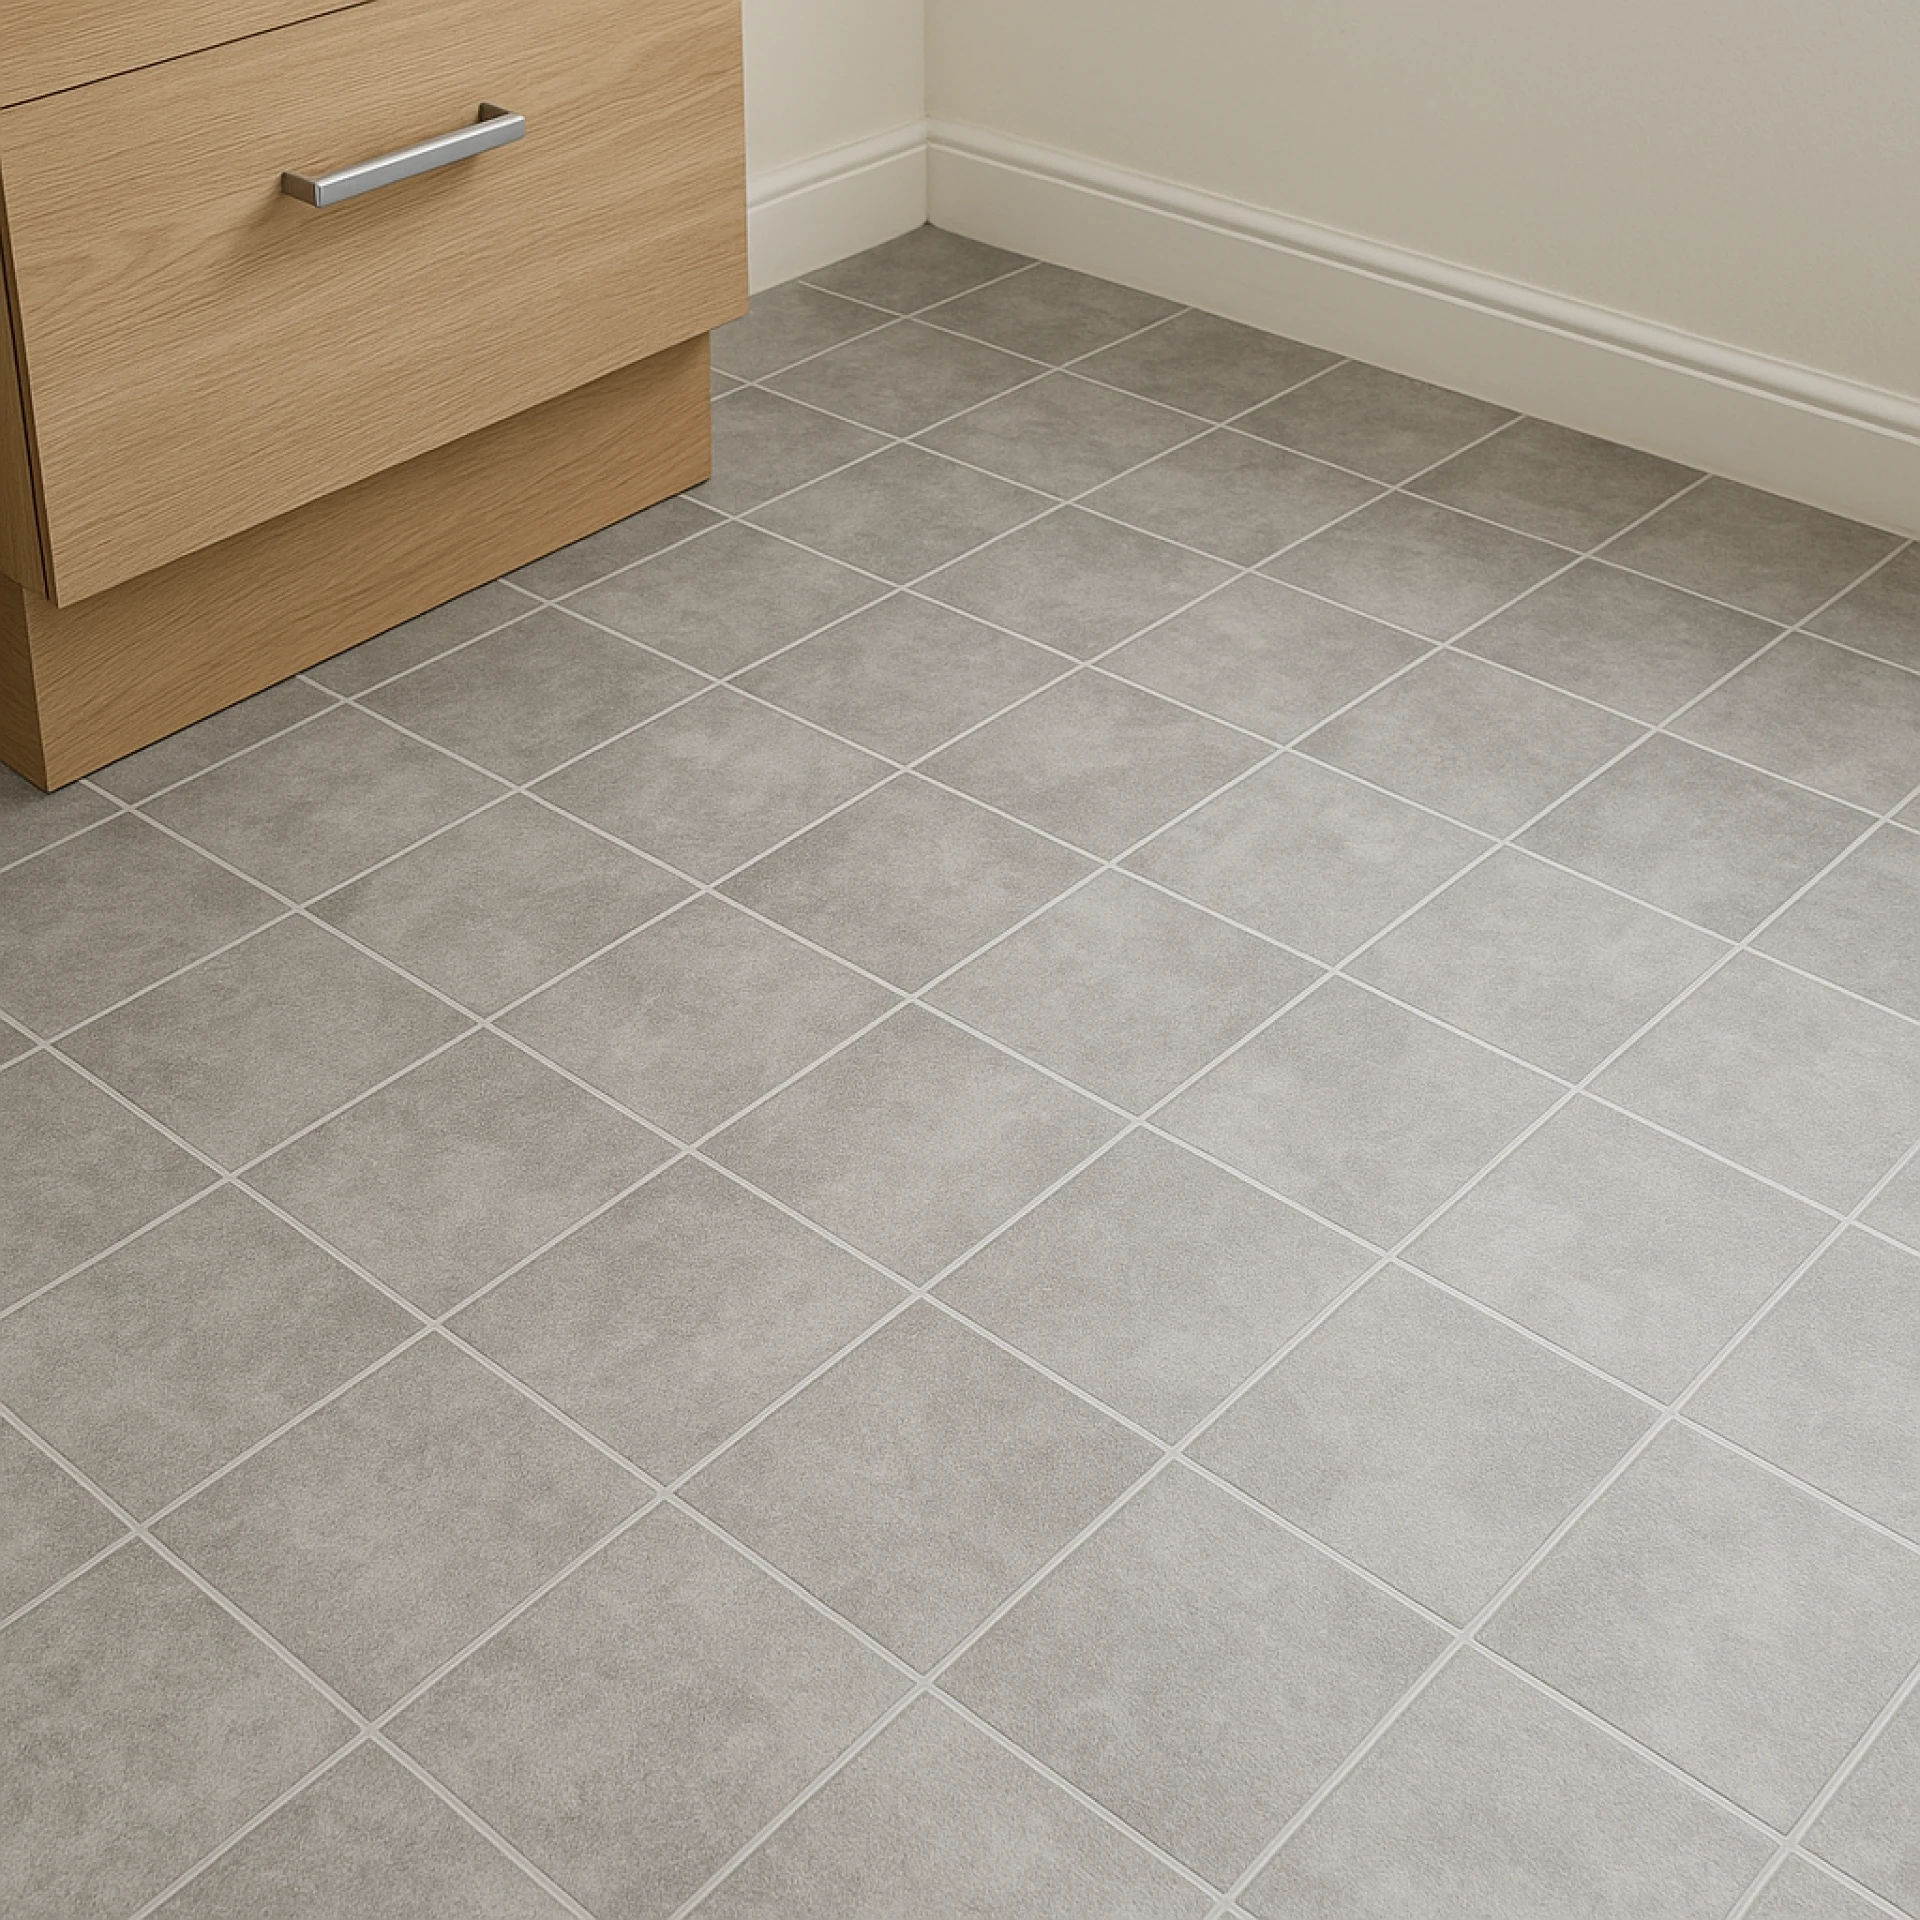
Visual design plays a major role in vinyl selection. Tile effect vinyl flooring mimics the appearance of ceramic or stone without the cold, hard surface. It offers a stylish solution for bathrooms, kitchens, or entryways where the aesthetic of tile is desired but with added comfort and warmth.
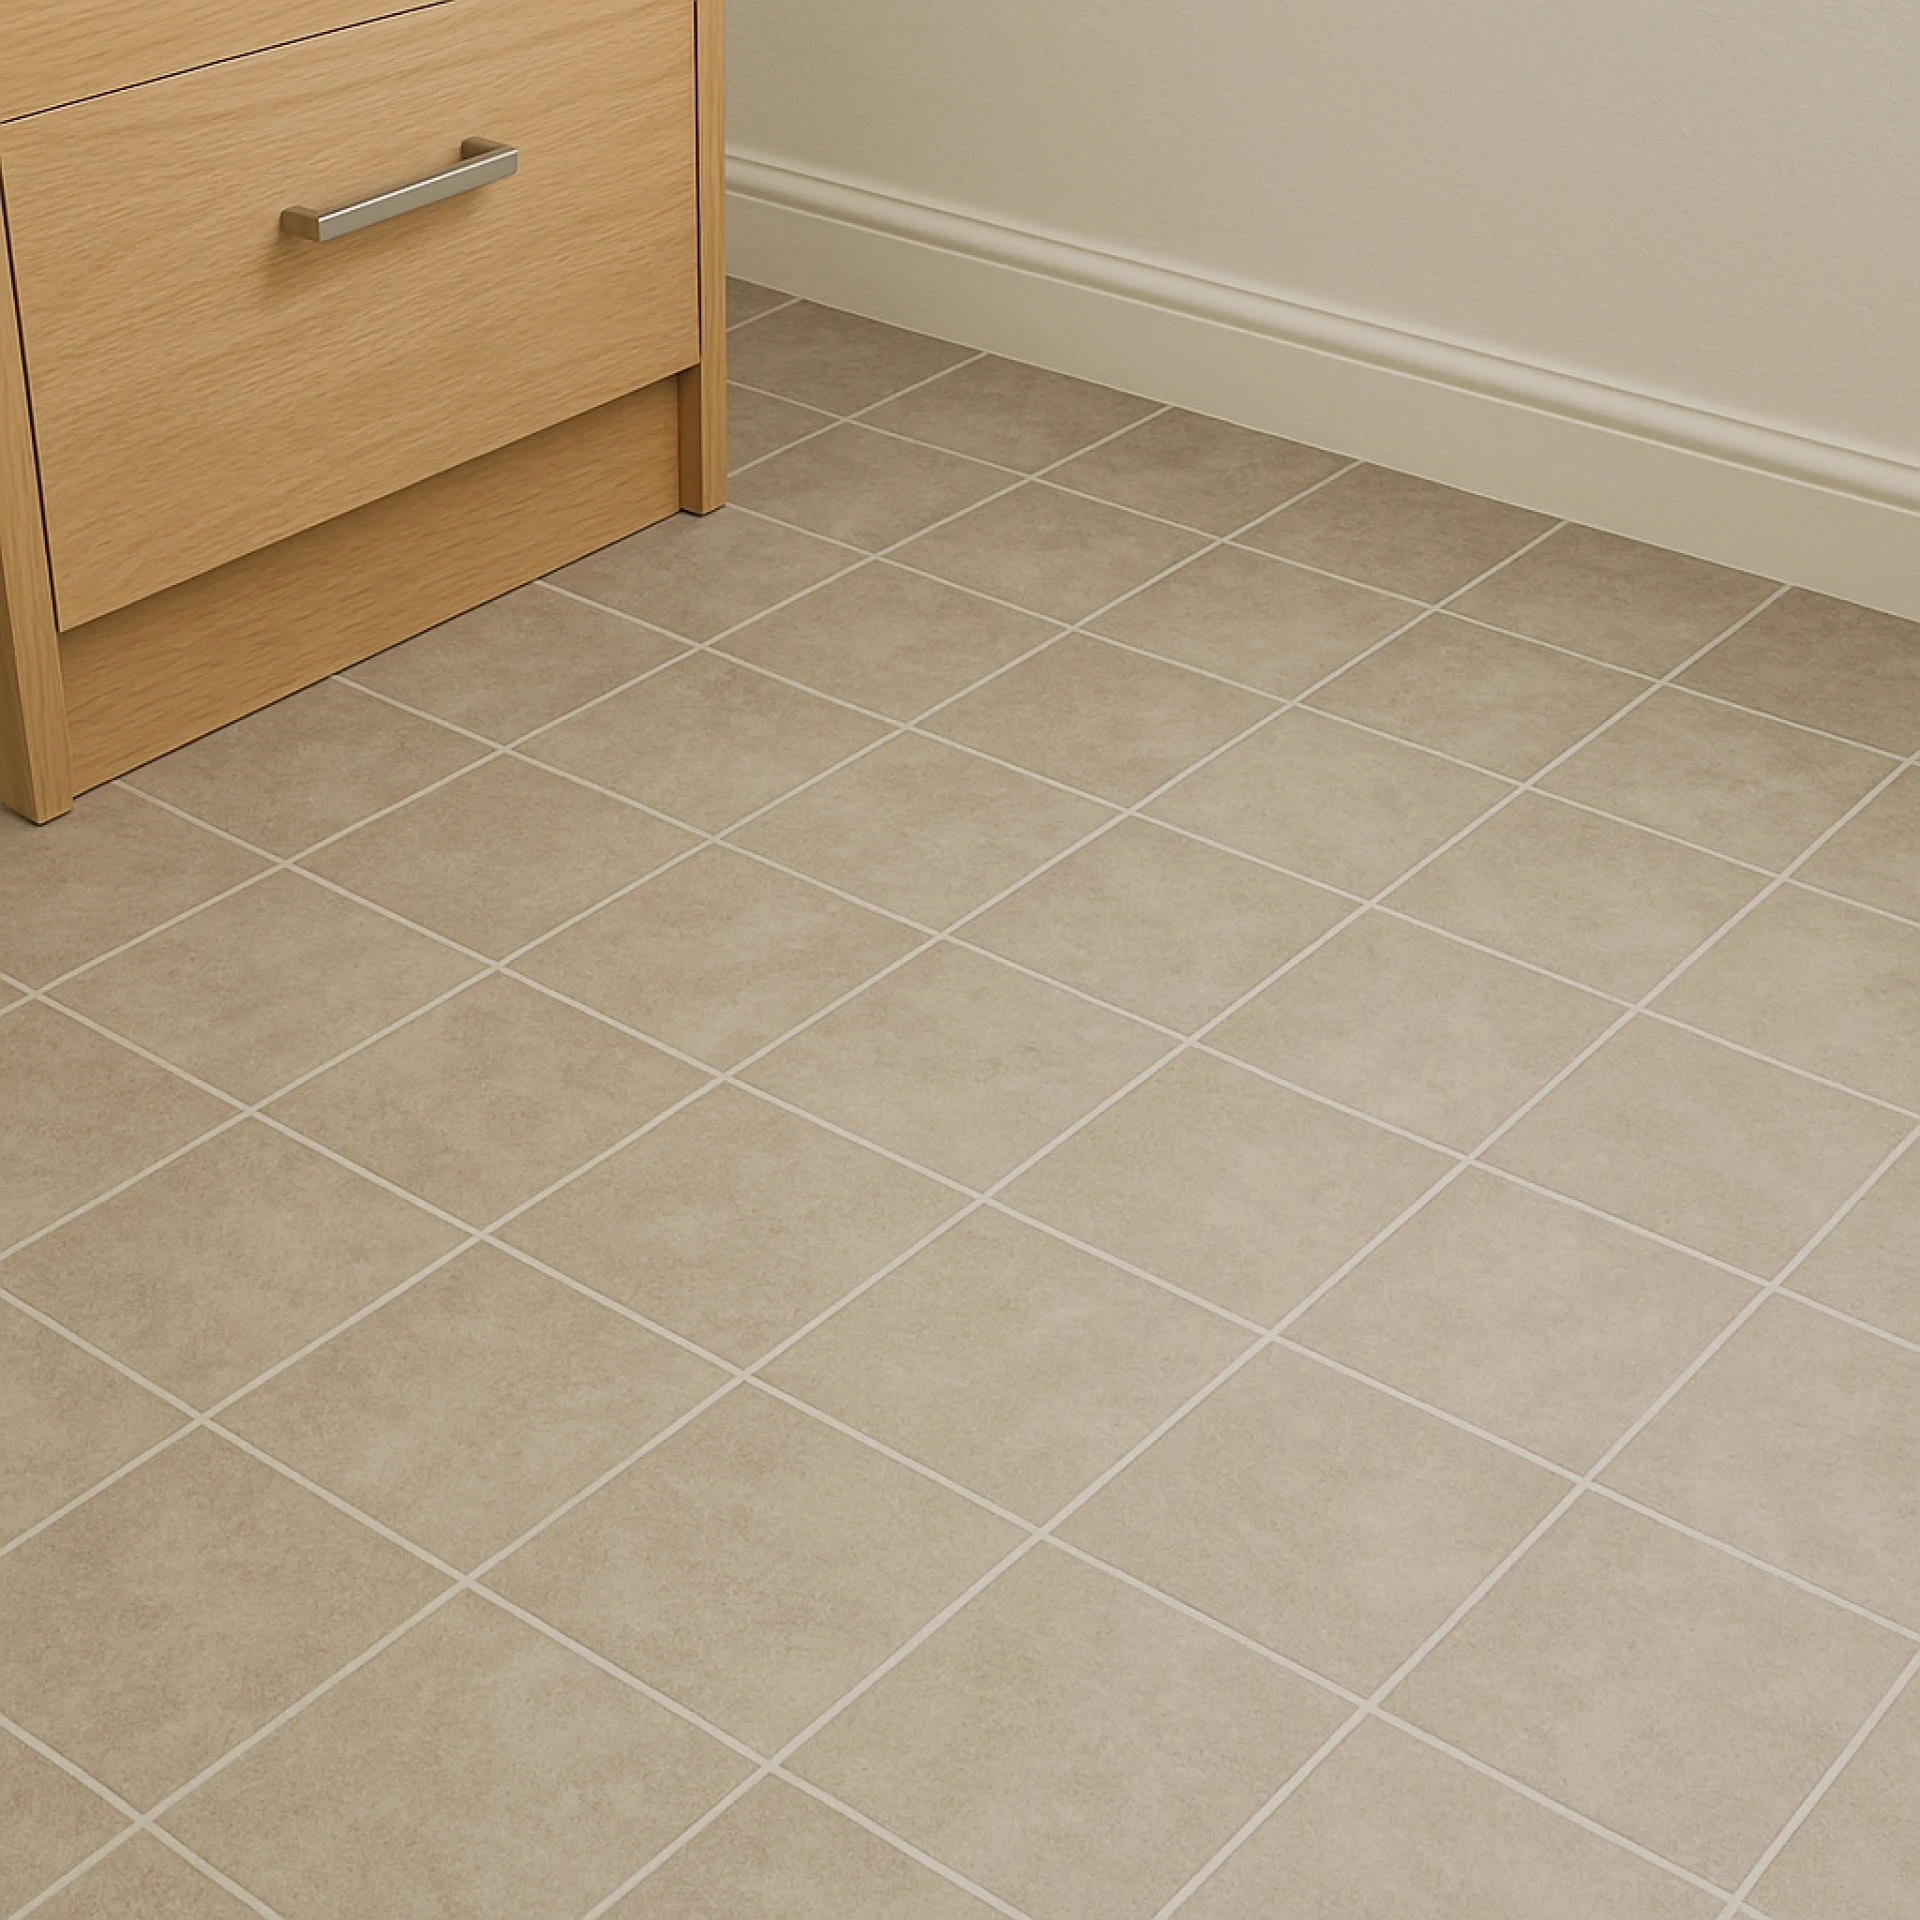
Other styles include wood-look planks, abstract patterns, and even terrazzo or slate designs. These products give homeowners flexibility to match flooring with existing décor. Thanks to advancements in print technology, even budget-friendly vinyl options can deliver realistic finishes with impressive visual depth.
Durability, Thickness, and Wear Layers
When choosing vinyl, durability is a critical factor. Heavier wear layers protect against scratches, dents, and discolouration, especially in busy households or spaces with pets and children. Thicker vinyl provides more comfort underfoot and better acoustic insulation, making it ideal for upstairs rooms or flats.
Commercial-grade vinyl usually includes a thicker wear layer and higher resistance ratings, but domestic grades often suffice for typical household use. Checking the product’s classification—such as 22 for general domestic or 33 for heavy commercial—can guide buyers toward the most appropriate choice for their specific environment.
Matching Flooring Type to Room Usage
Not every room requires the same flooring features. Bathrooms and kitchens benefit from waterproof or water-resistant vinyl, while bedrooms or lounges may prioritise comfort and insulation. Click-lock planks with integrated underlay work well in living areas where footfall is moderate but consistent.
In utility rooms, conservatories, or high-traffic hallways, a glued-down sheet vinyl may offer better wear over time. Before purchasing, it’s worth considering the room’s exposure to moisture, sunlight, and furniture load to ensure the flooring’s specification matches the practical demands of the space.
Tools and Materials You’ll Need
Essential Equipment Checklist
Successful vinyl installation starts with having the right tools. For measuring and planning, a tape measure, straight edge, pencil, and chalk line are key. A utility knife with fresh blades ensures clean, accurate cuts, especially around corners and fittings. For adhesive-based installations, a trowel suited to the adhesive type is essential, while for click-lock systems, a rubber mallet and spacers will help maintain consistency across planks.
Personal safety gear is also important. Knee pads protect joints during extended floor work, and gloves help prevent scrapes or contact with chemicals. A vacuum cleaner or broom keeps the working area clean between steps, reducing the risk of dust interfering with adhesion or alignment.
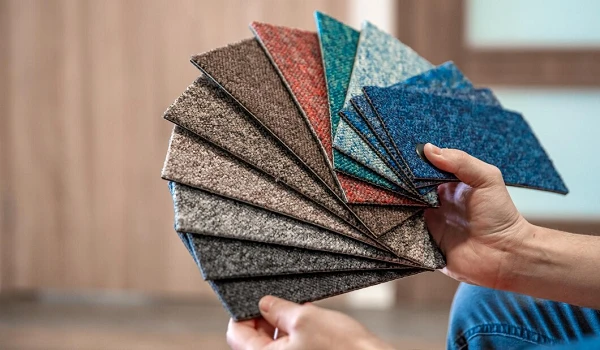
Choosing the Right Underlay or Adhesive
Underlay selection depends on the vinyl type and subfloor condition. On tile, foam underlay can help bridge minor gaps, while fibreboard or combination underlays are often used over concrete. Look for options that provide moisture protection and noise reduction where required. Not all vinyl products require underlay, particularly those with built-in layers.
For adhesive installations, selecting the correct glue type is crucial. Pressure-sensitive adhesives are common for tiles and planks, allowing repositioning during fitting. Wet-set adhesives offer a stronger bond, suited to larger rooms or commercial spaces. Always follow the flooring manufacturer's recommendations for compatible products, as incorrect adhesives can cause warping or loss of warranty.
Step-by-Step Installation Guide
Measuring and Cutting Vinyl Flooring
Before cutting any vinyl, measure the full dimensions of the room, allowing for small expansion gaps at the edges. Vinyl sheets and tiles should be cut with care, ideally laid loosely in place before final trimming. This approach reduces waste and allows for last-minute adjustments, especially around awkward corners or pipework.
Once the layout is confirmed, trimming should follow the room’s shape closely. A straight edge and utility knife make it easier to score and snap thicker pieces, while curved edges may require a template. Accuracy at this stage simplifies the rest of the installation, avoiding filler strips or visible joins later.
Laying Vinyl Over Tile or Concrete
Start at the room’s centre or longest straight edge, depending on the vinyl type. For loose lay systems, position each plank or tile tightly against the next, ensuring consistent spacing. For adhesive methods, work in small sections to prevent the glue from drying too quickly before the vinyl is positioned.
Over tile, ensure the grout lines have been filled or masked by underlay to avoid visible indentations. Over concrete, confirm that the surface is dry, level, and clean before beginning. Regularly check for alignment as you go, particularly in patterned designs where slight shifts may affect the final look.
Finishing Touches and Aftercare Tips
After laying the final row, remove any temporary spacers and install edging or skirting boards to cover expansion gaps. Where necessary, apply floor sealant around the perimeter to protect against moisture ingress, especially in wet zones. It’s also important to avoid dragging furniture across the new floor—use felt pads or sliders to prevent scratches.
Routine cleaning should be done with a soft broom or vacuum suitable for hard floors. Avoid using steam mops, as excessive heat can damage vinyl’s surface or adhesive bonds. With regular care and by addressing spills promptly, vinyl flooring will maintain its appearance and performance for years to come.
Mistakes to Avoid When Installing Vinyl Flooring
Common Surface Preparation Errors
One of the most frequent mistakes is overlooking the need for a level and clean surface. Even slight unevenness in tile or concrete can cause vinyl to buckle, warp, or wear unevenly over time. Dust or grease on the subfloor can also interfere with adhesives, causing sections to lift. These issues are easily avoided with thorough surface preparation and the use of appropriate cleaning and levelling products.
Another issue arises when installers skip moisture testing on concrete. Failing to check for damp can lead to adhesive failure or discolouration from beneath the floor. This is especially problematic in basements or extensions where damp-proofing may not be consistent. Taking time to properly inspect the surface reduces the likelihood of costly repairs or reinstallation.
Overlooking Acclimatisation
Vinyl flooring should be acclimatised before fitting, especially in the UK where indoor temperatures can vary. Letting the flooring rest in the room for 24–48 hours allows it to adjust to ambient conditions. This helps avoid problems like shrinking, expanding, or lifting after installation.
Ignoring this step can cause gaps between planks or bubbling in sheet vinyl, particularly if the room experiences wide temperature swings. Acclimatisation is a simple precaution that ensures a neater, more secure fit and prevents future movement across the floor.
Inadequate Sealing or Trimming
Finishing details are just as important as the main laying process. Skipping proper edge sealing, especially in moisture-prone rooms, can allow water to seep underneath, weakening adhesives and promoting mould growth. Similarly, rough or uneven trims around doorways and skirting boards spoil the appearance of an otherwise well-installed floor.
Using edge trims, caulking, and appropriate mouldings can protect these vulnerable areas and give the installation a polished look. Paying attention to these finishing touches ensures both visual quality and long-term durability.
When to Call a Professional
Complex Layouts and Difficult Surfaces
While many homeowners are comfortable installing vinyl themselves, certain situations benefit from professional expertise. Irregular floor plans with multiple angles, staircases, or mixed subfloor types require advanced planning and precision cutting. A professional can handle these with confidence, reducing the risk of mistakes.
Older homes may also present hidden challenges like uneven subfloors, legacy adhesives, or poor ventilation. In these cases, an experienced fitter will have the tools and knowledge to resolve problems without compromising the flooring’s integrity or lifespan.
The Value of Expert Installation for Long-Term Results
Hiring a professional isn’t just about convenience — it can extend the life of your flooring. Installers ensure the correct use of adhesives, underlays, and moisture barriers, all of which affect long-term performance. They also spot issues that might be missed by an untrained eye, such as inadequate subfloor preparation or incompatible materials.
Although it adds to the initial budget, expert installation often proves more economical over time. It helps avoid repairs, reduces waste, and ensures the flooring meets its warranty conditions. For high-traffic areas or premium flooring, this level of assurance can be well worth the cost.


Sign in to leave a comment.