Laptop skins are a fantastic way to personalize and protect your device, combining style with functionality. To ensure your laptop skins remains in excellent condition and provides long-lasting benefits, it\'s essential to apply and maintain it properly. This comprehensive guide will walk you through the steps for applying and maintaining laptop skins, ensuring your laptop remains stylish and protected for years to come.
Choosing the Right Laptop Skin
Selecting the perfect laptop skin is the first step in ensuring long-lasting style. When choosing a skin, consider factors such as material, design, and compatibility with your laptop model. High-quality materials like vinyl or polycarbonate offer better durability and protection for your device.
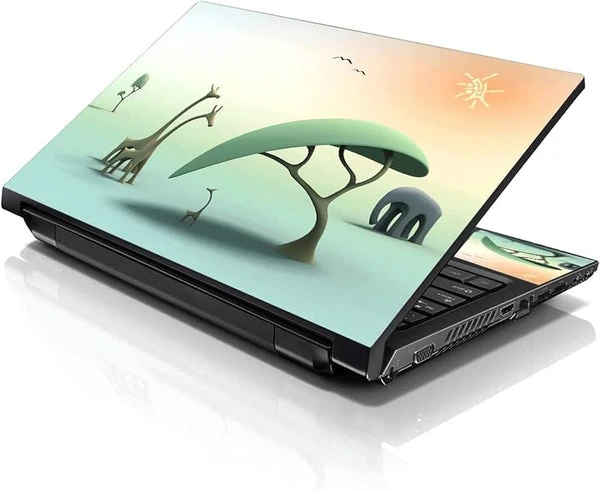
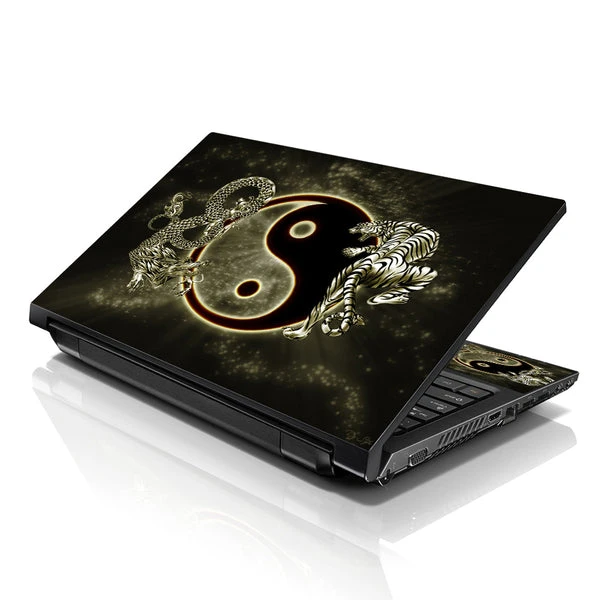
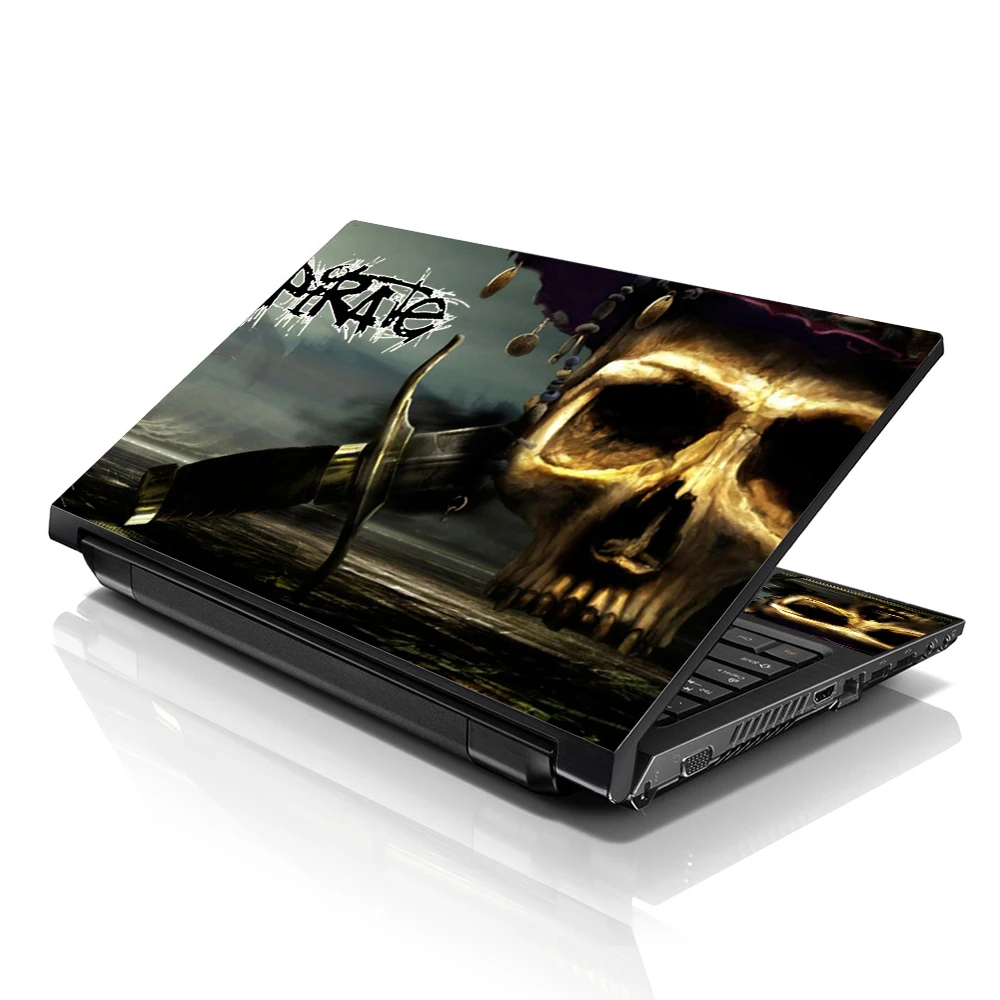
In addition to material quality, the design should reflect your personal style. Whether you prefer minimalist patterns, vibrant graphics, or custom artwork, choose a skin that you\'ll enjoy seeing every day. Also, make sure the skin is designed specifically for your laptop model to ensure a perfect fit and easy application.
Preparing Your Laptop
Before applying the skin on your laptop, it\'s crucial to prepare the device properly. Start by cleaning the laptop\'s surface with a microfiber cloth and a gentle cleaning solution. Remove any dust, dirt, or oils to ensure the skin adheres smoothly and securely.
Before applying the skin, allow the laptop to dry completely. A clean, dry surface will prevent air bubbles and ensure a smooth finish. Proper preparation is essential for achieving a professional-looking application and extending the life of your laptop skin.
Aligning the Skin
Carefully aligning the laptop skin before application is crucial for a flawless finish. Lay the skin flat, and identify the top, bottom, and any cutouts for ports, vents, or logos. Ensure the skin matches your laptop\'s dimensions and features.
Peel a small section of the backing paper from the skin, starting at one edge. Align the exposed edge with the corresponding edge of your laptop, ensuring it is straight and correctly positioned. Take your time during this step, as accurate alignment is essential for a successful application.
Applying the Skin
Once the skin is properly aligned, begin applying it to your laptop. Slowly peel back the backing paper while pressing the skin onto the laptop\'s surface. Use a soft, lint-free cloth or a squeezer to smooth out the skin and remove any air bubbles.
Moving from side to side, press firmly and smooth the skin. If you notice any air bubbles, gently lift the skin and reapply it, using a cloth or squeegee to push out the bubbles. Patience and precision during application will result in a seamless finish.
Handling corners and edges
Applying the skin to the corners and edges of your laptop requires extra care. Gently stretch the skin around the corners to ensure a snug fit without creases or wrinkles. Use your fingers to press the skin firmly along the edges, ensuring it adheres securely.
For laptops with rounded edges, take your time to smooth the skin around the curves, avoiding any folding or bunching. Proper handling of corners and edges is essential for a professional appearance and lasting adhesion.
Dealing with Cutouts
Laptop skins often include cutouts for ports, vents, and other features. Carefully align and apply the skin around these cutouts, ensuring they are not covered or obstructed. Use a precision knife or a sharp blade to trim any excess material around the cutouts for a clean, tailored look.
Take your time with this step to avoid damaging your skin or laptop. Well-executed cuts ensure that your laptop remains fully functional while maintaining its stylish appearance.
Removing Air Bubbles
Despite careful application, you may encounter some air bubbles under the skin. To remove these bubbles, use a soft cloth or a squeegee to gently press them towards the edges of the skin. Applying steady, even pressure will help eliminate the bubbles without damaging the skin.
For stubborn bubbles that don\'t move easily, use a pin or a needle to create a tiny hole at the center of the bubble. Gently press the air out through the hole, then smooth the skin back down. Removing air bubbles promptly ensures a smooth, professional finish.
Cleaning your laptop\'s skin
Regular cleaning is required to maintain the appearance of your laptop\'s skin. Use a microfiber cloth to wipe away dust, dirt, and smudges. For tougher stains, lightly dampen the cloth with water or a gentle cleaning solution, then wipe the skin carefully.
Avoid using harsh chemicals or abrasive cleaners, as these can damage the skin\'s material and design. Regular, gentle cleaning will keep your laptop skin looking fresh and new, preserving its style and protective qualities.
Protecting Against Scratches
While laptop skins offer protection against scratches and minor abrasions, they can still be susceptible to damage over time. To protect your laptop\'s skin, avoid placing it on rough or abrasive surfaces. Use a laptop sleeve or case for additional protection when transporting your device.
Be mindful of sharp objects, such as keys or pens, that can scratch the skin. By taking these precautions, you can prolong the life of your laptop skin and maintain its stylish appearance.
Avoiding exposure to extreme conditions
Exposure to extreme temperatures, direct sunlight, and moisture can affect the longevity of your skin on laptop. Avoid leaving your laptop in hot cars or direct sunlight for extended periods, as this can cause the skin\'s adhesive to weaken and the material to warp.
Similarly, keep your laptop away from damp or humid environments to prevent moisture damage. Protecting your laptop from these conditions will help preserve the integrity and appearance of your laptop skin.
Reapplying or Replacing the Skin
Over time, you may decide to reapply or replace your laptop skin to refresh its look. To remove the existing skin, gently peel it off, starting from one corner. If the adhesive is strong, use a hairdryer on a low setting to warm the skin and loosen the adhesive for easier removal.
Once the old skin is removed, clean the laptop\'s surface thoroughly before applying a new skin. Following the same careful application process will ensure a smooth, long-lasting finish. Reapplying or replacing the skin allows you to keep your laptop looking stylish and updated.
Enjoying the Benefits of Laptop Skins
Laptop skins not only provide a protective layer for your device but also allow you to express your personal style. Whether you choose a bold design, a sleek minimalist look, or a custom creation, your laptop skin can reflect your unique personality.
By following the steps outlined in this guide, you can apply and maintain your laptop skin effectively, ensuring it remains a stylish and functional accessory. Enjoy the benefits of a well-protected and personalized laptop, and take pride in your device\'s long-lasting style.
Conclusion
Applying and maintaining a skins for laptops is a straightforward process that offers significant benefits in terms of protection and personalization. By choosing a high-quality skin, preparing your laptop properly, and following the correct application and maintenance steps, you can ensure your laptop skin remains in excellent condition for years to come.
Laptop skins are an excellent investment for anyone looking to enhance the look and durability of their device. With a little care and attention, your laptop skin will provide long-lasting style and protection, making your laptop a true reflection of your personal taste and ensuring it stands out in a crowd.


Sign in to leave a comment.