Good selections save more time than fancy effects. This guide shows how to select artwork faster, and with more control, in Adobe Illustrator.
These two tools solve different problems. The Magic Wand Tool selects objects that share visual traits, while the Lasso Tool lets you draw around points or shapes by hand. If you want extra practice after reading, the Free Adobe Illustrator Course offers beginner-friendly video lessons at no cost. First, it helps to understand what each tool is meant to do.
Understand what each tool does before you start selecting
In Illustrator, both tools live in the toolbar, yet they behave in very different ways. That difference matters, because many beginners expect Photoshop-style behavior and end up confused.
The Magic Wand Tool works like a filter. You click one object, and Illustrator finds others with matching visual attributes. The Lasso Tool works like a pencil loop. You drag around points, segments, or nearby objects that you want to grab manually.
That means one tool looks for similarity, while the other follows your hand. Once that distinction is clear, most selection mistakes disappear.
How the Magic Wand Tool selects similar objects
The Magic Wand Tool selects objects that share properties with the one you click. Those properties can include fill color, stroke color, stroke weight, opacity, and blending mode.
You control those rules in the Magic Wand panel. A lower tolerance gives you a stricter match. A higher tolerance allows more variation. For example, if you click a blue circle, Illustrator can select every shape with that same blue fill, or it can include nearby shades if the tolerance is wider.
How the Lasso Tool helps you grab exact points and shapes
The Lasso Tool is better when you need manual control. You draw a freehand shape around anchor points, path segments, or nearby objects, and Illustrator selects only what falls inside that loop.
This makes it useful for editing parts of a drawing without touching the rest. It also clears up a common question about how to use magic lasso in Illustrator. Illustrator does not include Photoshop's Magnetic Lasso Tool.
Illustrator has no Magnetic Lasso Tool. If you want edge-snapping behavior, that's a Photoshop feature, not an Illustrator feature.
How to use the Magic Wand Tool in Adobe Illustrator step by step
If you've wondered where the Magic Wand Tool is in Adobe, open Illustrator and look in the left toolbar. Its icon resembles a small wand with sparkles. After that, the basic process is simple:
- Select the Magic Wand Tool in the toolbar.
- Open Window > Magic Wand to choose what the tool should compare.
- Check the attributes you want, such as fill color or stroke color.
- Click an object on the artboard to select similar artwork.
For most beginners, fill color and stroke color are the best starting points. They are easy to see, and the results make sense right away. Later, you can also compare opacity, stroke weight, or blending mode when your file gets more complex.
Open the tool, choose what it should detect, then make your first selection
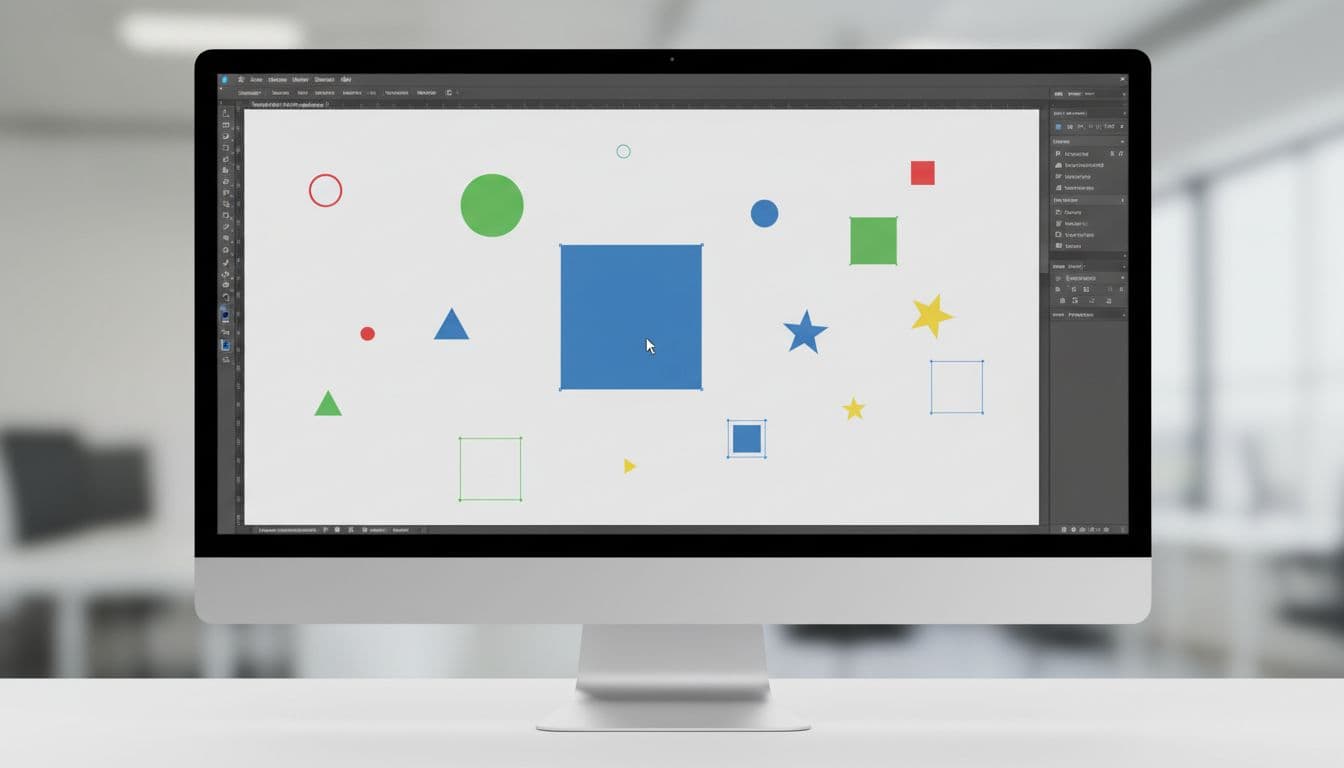
Start with a clean file that has several objects in different colors. Open the Magic Wand panel, then check Fill Color. Now click one object with the tool. Illustrator will select other objects that match the chosen attribute.
If the result feels too broad or too narrow, the settings need adjustment, not the artwork. That is where tolerance becomes important.
Adjust tolerance so the tool selects more, or less, of your artwork
Tolerance controls how close other objects must be to count as a match. A low tolerance behaves like a strict teacher. Only nearly identical values get selected. A high tolerance is more relaxed, so it includes more variation.
Picture an icon set with five shades of blue. If you want only the exact same blue, use a low tolerance. If you want several similar blues, raise the tolerance until Illustrator includes them.
You can also refine the selection as you work. Hold Shift and click again to add more matching objects from another area. Still, if the tool starts selecting items you did not intend to grab, reduce the tolerance or limit the checked attributes in the panel.
How to use the Lasso Tool for cleaner manual selections
The Lasso Tool becomes useful when automatic selection is too broad. This happens often when you edit paths, logos, or detailed vector drawings with many nearby anchor points.
Unlike the Magic Wand, the Lasso Tool does not care about color or stroke settings. It cares only about where you draw.
Draw around the points or objects you want to select
Choose the Lasso Tool from the toolbar. Then click and drag a freehand loop around the anchor points, path segments, or objects you want to select. When you release the mouse, Illustrator selects what falls inside the shape.
This feels more direct than the Direct Selection Tool when points are clustered tightly together. Instead of clicking one point at a time, you can gather several in one motion. In a curved illustration, for example, you might loop around just the points on one corner and adjust that area without disturbing the rest of the path.
Use the Lasso Tool when precision matters more than speed
The Lasso Tool is best when you need to edit a small part of a larger drawing. You might reshape one side of a logo, smooth a rough curve, or select several nearby anchor points on a character illustration.
Common mistakes are easy to spot. If you draw too loosely, you may catch points you did not want. If you try to use the Lasso for broad color-based selection, you are using the wrong tool. In that case, the Magic Wand is faster and cleaner.
So, what is the difference between a magic wand and a lasso? The Magic Wand finds visual matches across objects. The Lasso lets you hand-pick an area, even when the selected points do not share any appearance settings.
Choose the right tool, and know when to combine both
In daily Illustrator work, the best tool depends on the type of selection you need. This quick comparison makes the choice easier.
A simple rule for Magic Wand vs Lasso in everyday Illustrator work
| Tool | Best for | Main strength |
|---|---|---|
| Magic Wand | Similar colors, strokes, opacity, or appearance | Fast attribute-based selection |
| Lasso | Anchor points, path segments, irregular groups | Manual control in tight areas |
The rule is simple. Use Magic Wand when objects look alike. Use Lasso when the area matters more than appearance.
You can also combine Magic Wand and Lasso in one workflow. For example, select all similar shapes with Magic Wand first, then refine one area with Lasso or Direct Selection. That approach saves time and keeps your edits precise.
Practice both tools on one simple file
The main takeaway is clear. The Magic Wand Tool helps you select by appearance, while the Lasso Tool helps you select by hand. One gives speed, and the other gives control.
Try both on a simple practice file with different fills, strokes, and anchor points. After ten minutes of testing, the difference becomes obvious, and your Illustrator workflow gets much smoother.
Keep selecting with purpose. The right tool makes the artboard feel a lot smaller.


Sign in to leave a comment.