
7 Things Every Screen Printer Needs to Know Before Their First Discharge Job
Screen Printing 101 | Specialty Inks | Intermediate Friendly
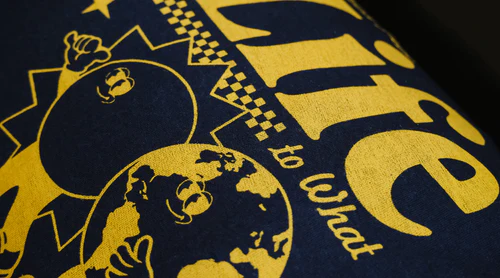
Printing on dark garments has always been one of the trickier parts of screen printing. Traditional plastisol sits on top of the fabric — which means underbase layers, flash curing between passes, and a heavy hand feel that customers can definitely notice. But there’s a better way.
Ecotex® Plastisol Discharge Additive changes the game. Mix it into your existing plastisol ink, and suddenly you can print soft, vivid, breathable prints on dark garments — with no underbase, no flashing between colors, and no switching to a completely different ink system.
Want to see it in action? Stick with us to the end, we've got a full video walkthrough of plastisol discharge additive.
🖨️ Quick Vocab Check — What Is Discharge Printing? Discharge printing uses a chemical agent to remove the dye from the fabric itself, replacing it with your ink color. Instead of sitting on top of the fabric like regular plastisol, the ink bonds with the fibers — creating a print that’s dramatically softer and more breathable. With Plastisol Discharge Additive, you get this effect using your existing plastisol inks. |
| 01 | You Need Two Components — The Additive AND the Activator |
This is the most important thing to understand before you start: Plastisol Discharge Additive alone does not make your ink discharge. You need two components working together.
Plastisol Discharge Additive transforms the body of your plastisol ink, giving it the right consistency and chemistry to accept the discharge reaction.
Discharge Activator is the trigger. This powder — added at 3–6% by weight — contains the active bleaching agent that actually removes the dye from the fabric during curing.
Skip either one, and you won’t get a true discharge result. Both components are essential.
| 💡 Pro Tip: Think of it like a two-part epoxy. Each part does nothing on its own. Together, they create something much more powerful. |
| 02 | Mix at a 1:1 Ratio — Then Add Your Activator |
Getting the mix right is critical. Here’s the exact formula to follow:
• Combine Plastisol Discharge Additive and your plastisol ink at a 1:1 ratio (50% additive, 50% ink).
• Stir until smooth and consistent. Do not use a high-speed mixer — it can cause premature curing.
• Add 3–6% Discharge Activator by weight to the blended mixture. Stir until fully dissolved.
The order matters. Mix the additive and ink first, then introduce the activator. This gives you the smoothest, most consistent blend.
| 💡 Pro Tip: A kitchen scale is your best friend here. Eyeballing percentages — especially the activator — leads to inconsistent results. Weigh everything. |
| 03 | Pot Life Is Up to 24 Hours — But Plan Accordingly |
One of the biggest advantages of this product over traditional discharge systems is its extended pot life of up to 24 hours after activation. That’s significantly more working time than many competing discharge products.
Still, once you’ve added the Discharge Activator, the clock is ticking. The ink will gradually lose discharge effectiveness over time, even if it looks and feels fine.
| ⏱️ Time-Saving Tip: Only mix what you need for your current production run. You can always mix more — but you can’t un-activate ink that’s past its prime. |
| 04 | Cure at 320°F for a Full 90 Seconds — No Shortcuts |
Proper curing is where the magic actually happens. The discharge reaction is heat-activated — if your garment doesn’t hit the right temperature for the right amount of time, the activator won’t fully fire and you’ll end up with dull, inconsistent results.
The exact requirements:
• Temperature: 320°F (160°C)
• Dwell time: At least 90 seconds
A conveyor dryer is strongly recommended over a flash dryer for discharge work. Flash dryers heat the surface quickly but may not sustain the temperature long enough to fully cure through the garment.
| ⚠️ Common Mistake: If your colors are coming out dull or muddy, insufficient cure time is often the culprit. Double-check your dryer temperature with a temp gun or donut probe before assuming it’s a fabric issue. |
| 05 | It Only Works on Discharge-Friendly Fabrics |
Discharge printing only works on fabrics dyed with reactive dyes. These dyes are chemically receptive to the discharge agent, which is what allows them to be removed during curing.
In practice, this means:
• 100% cotton: Yes — works great for most colors
• Cotton/poly blends: Sometimes — depends on dye used; test first
• 100% polyester or synthetic fabrics: No — won’t discharge
Even within cotton garments, results vary by color. Some dye colors discharge more completely than others. Navy and black typically discharge well; some reds and purples can be stubborn.
🧪 Always Test Before You Run Different garment brands — and even different dye lots of the same style — can discharge to different base tones. A black Gildan might discharge to warm tan, while a black Bella+Canvas discharges to cool grey. Always test on the specific blank you’re using before committing to a full production run. |
| 06 | No Underbase Needed — Print Wet-on-Wet |
One of the most valuable benefits of Plastisol Discharge Additive is what it eliminates from your workflow: the underbase. Traditional printing on dark shirts requires a white underbase printed first, then flashed, before your top colors go down. With discharge, you skip all of that.
Because the discharge agent removes the dark dye from the fabric itself, your ink colors appear bright and vibrant directly on the discharged surface. This means:
• Print wet-on-wet — apply all colors in one pass without flashing between them
• Fewer press stops means faster production and less downtime
• The result is a softer hand feel since you’re not building up multiple layers of ink on the garment surface
| 💡 Pro Tip: Use firm squeegee pressure when printing. Driving the ink into the fabric — rather than letting it sit on top — is key to getting the best discharge result. |
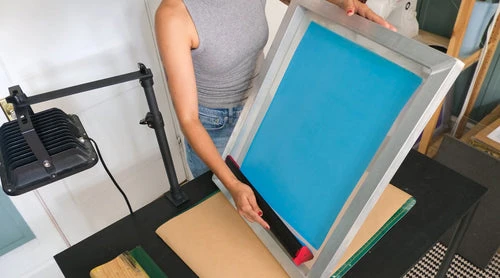
| 07 | Use the Right Mesh Count and a Water-Resistant Emulsion |
Your screen setup matters more than you might think with discharge printing. Two factors directly affect your print quality:
Mesh Count: 110–160
This is the sweet spot for discharge work. Coarser meshes (below 110) allow too much ink through. Finer meshes (above 160) can restrict the ink flow needed for discharge prints to work effectively.
Emulsion: Use Water-Resistant Emulsion
Discharge inks have a higher water content than standard plastisol, which can break down regular emulsion on press. A water-resistant (dual-cure or SBQ-based) emulsion will hold up far better and give you cleaner edges throughout the run.
| ⚠️ Watch For: If you notice emulsion breakdown or edge detail getting soft mid-run, water content from the discharge ink is likely the cause. Switching to a water-resistant emulsion will solve this. |
Quick Reference: All 7 Principles at a Glance
| # | Principle | Key Takeaway |
| #1 | Two Components Required | Additive + Activator are both required for discharge to work |
| #2 | Mix at 1:1 Ratio | 50/50 additive to ink, then add 3–6% Discharge Activator by weight |
| #3 | Pot Life Up to 24 Hours | Only mix what you need; activated ink degrades over time |
| #4 | Cure at 320°F / 90 Seconds | Heat activates the discharge reaction — don’t rush it |
| #5 | Discharge-Friendly Fabrics Only | 100% cotton with reactive dyes; always test your specific blank |
| #6 | No Underbase, Print Wet-on-Wet | Skip the underbase and flash — faster production, softer prints |
| #7 | 110–160 Mesh + Water-Resistant Emulsion | Right setup prevents breakdown and keeps edges clean |
Watch Ecotex® Plastisol Discharge Additive in action
Have questions about using Plastisol Discharge Additive? Drop a comment below or reach out to us at [email protected]. And if you’re ready to get started, grab your Plastisol Discharge Additive and Discharge Activator from Screen Print Direct — we’ve got everything you need to get rolling.
"This content is originally posted at- https://screenprintdirect.com do check it out


Sign in to leave a comment.