In the competitive world of real estate marketing, professional HDR photography can make a significant difference in attracting buyers. High Dynamic Range (HDR) photography captures a wider range of light and detail than standard images, ensuring every room looks bright, inviting, and true to life. For real estate agents and property owners, mastering HDR techniques can turn ordinary property listings into visually striking showcases that stand out online.
Invest in the Right Equipment
The foundation of professional HDR photography is quality equipment. A DSLR or mirrorless camera with manual settings is ideal. Pair it with a sturdy tripod to ensure stability during bracketed shots. HDR requires taking multiple exposures of the same scene, typically three to seven, ranging from underexposed to overexposed. Using a tripod prevents misalignment, ensuring the final HDR image is crisp and professional.
Understand Bracketing and Exposure
Bracketing is the process of capturing several shots at different exposure levels. Proper exposure ensures that both shadows and highlights retain detail. For instance, when photographing a living room with bright windows, the exterior light can easily be overexposed. HDR photography blends multiple exposures, balancing indoor and outdoor lighting for a natural, vibrant look. Understanding exposure settings and how to combine them is crucial for professional results.
Focus on Composition and Angles
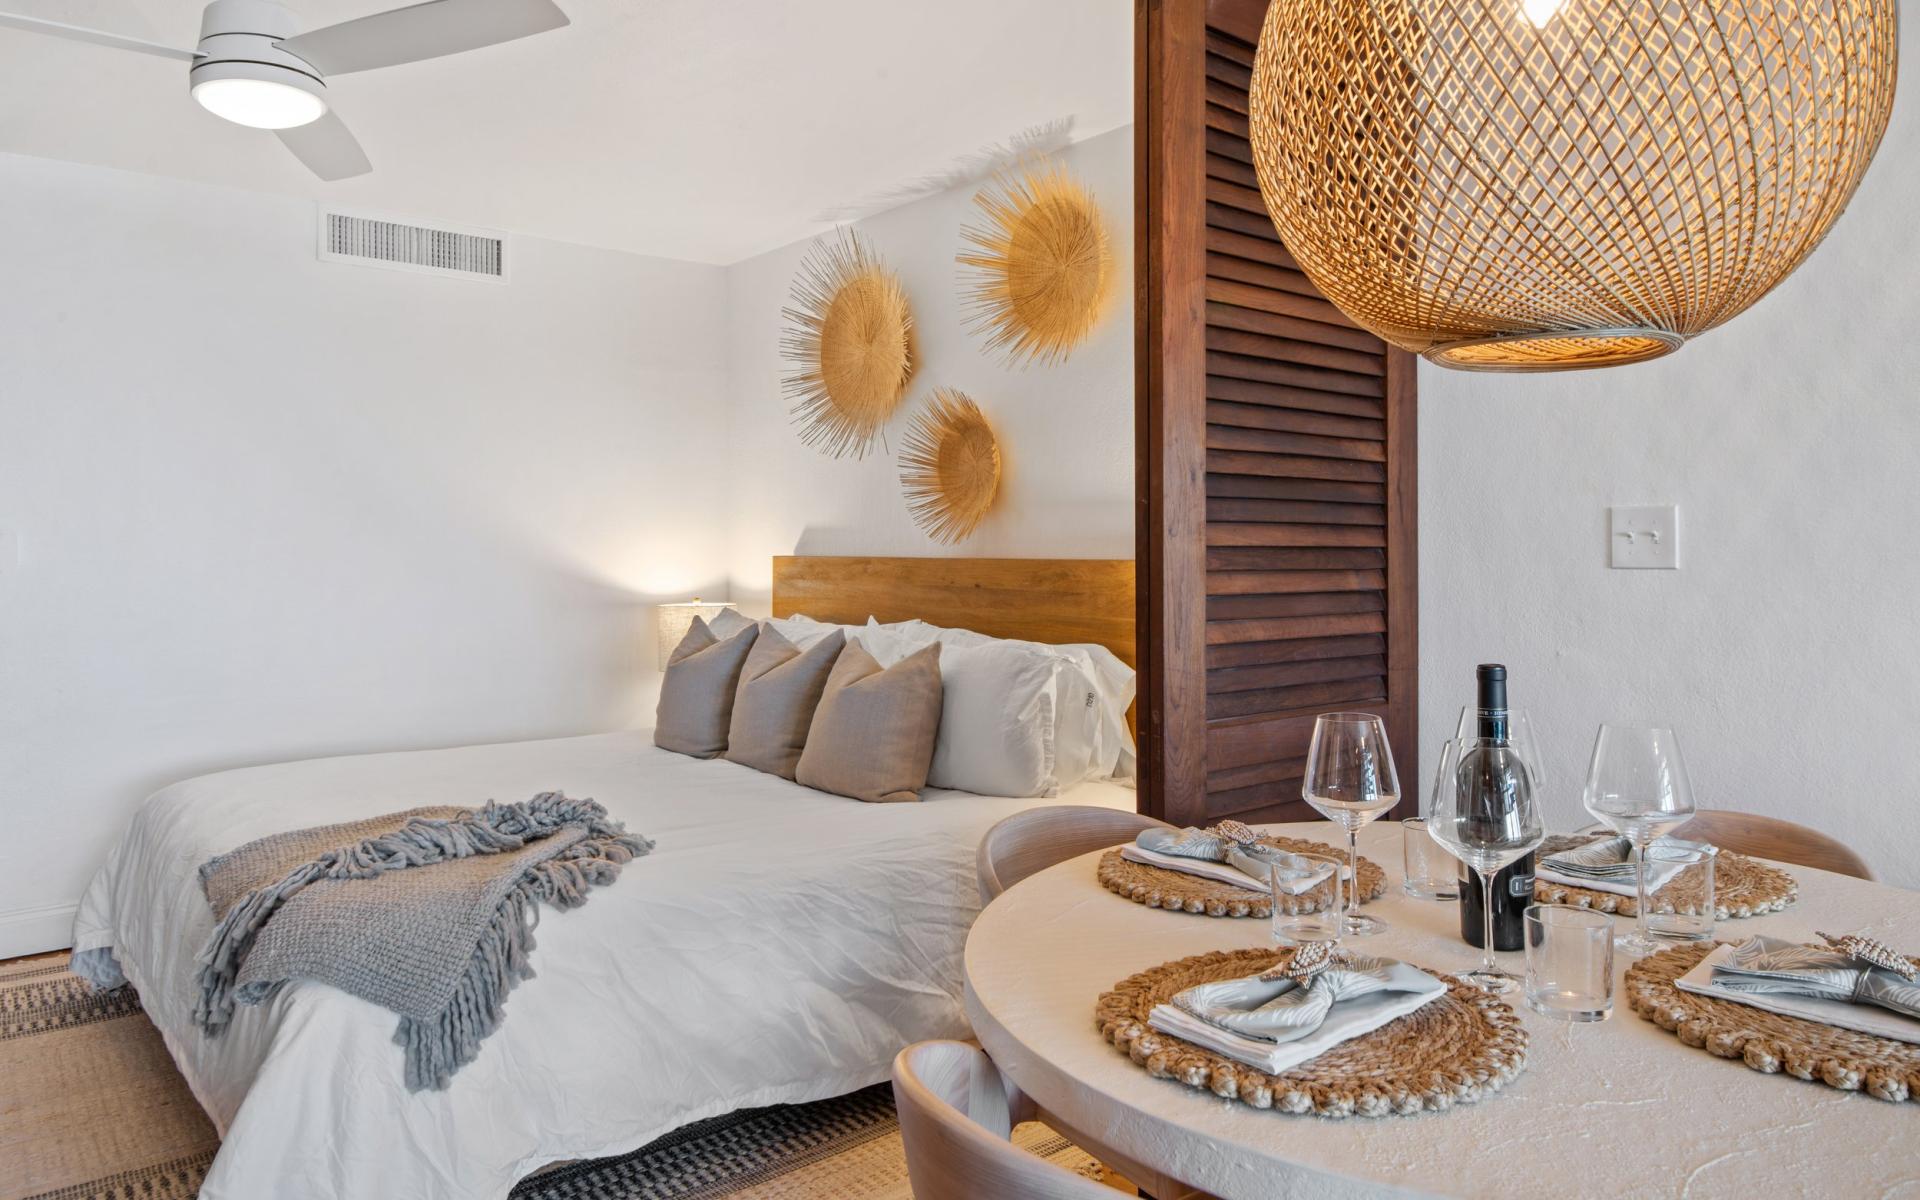
Lighting is only part of the equation—composition matters just as much. Wide-angle lenses are popular in real estate photography as they capture more of the room in a single frame. Positioning the camera at chest or eye level, rather than floor level, creates a more realistic perspective. Avoid clutter, and stage rooms minimally to enhance appeal. Professional HDR photography shines when the composition highlights the property’s best features without distortion.
Edit with Care
Post-processing is where HDR images come to life. Use software like Adobe Lightroom or Photomatix to merge your bracketed shots. Adjust tone mapping, contrast, and saturation subtly to preserve realism. Over-editing can result in unnatural colors or halos around objects, which detracts from the property’s appeal. A polished but realistic image helps potential buyers envision themselves in the space.
Highlight Key Features
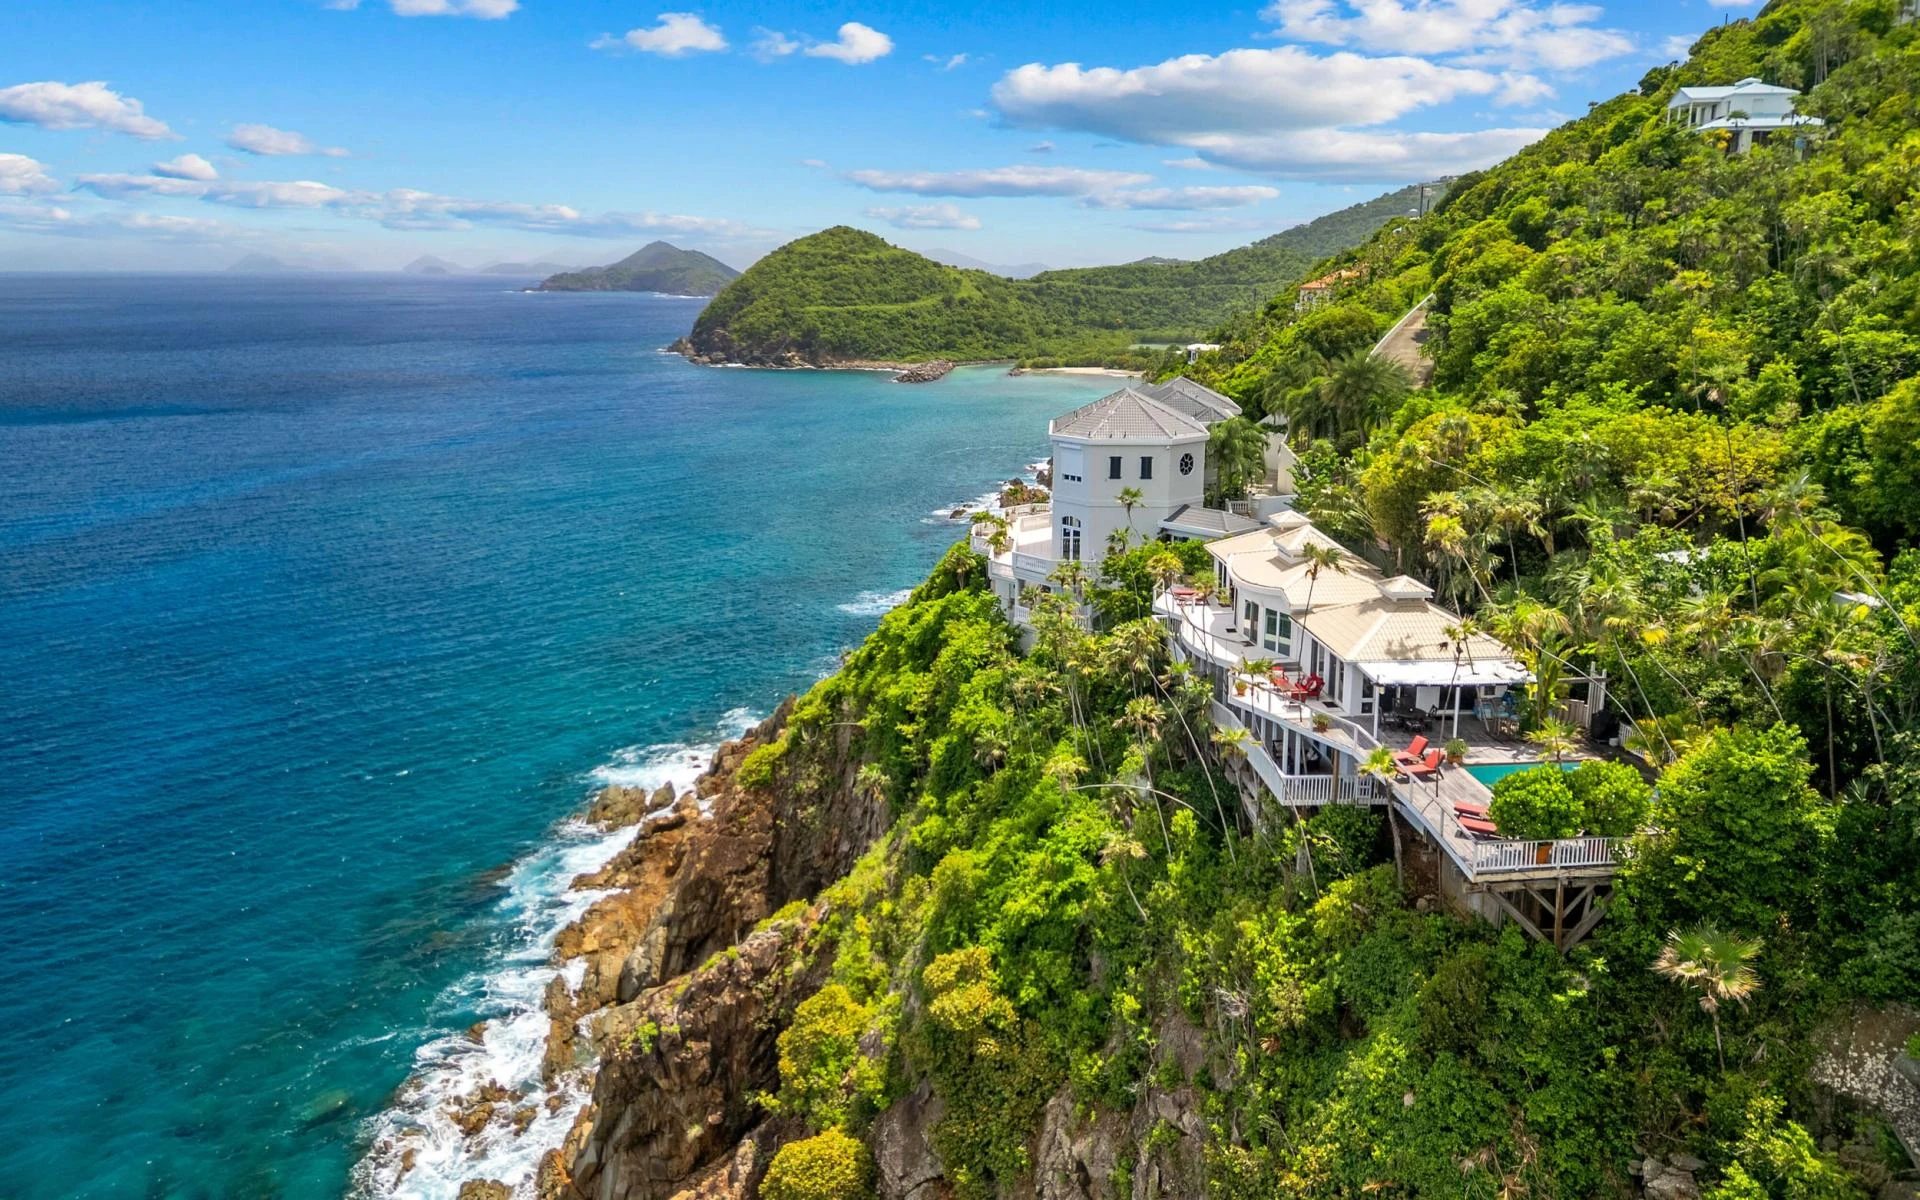
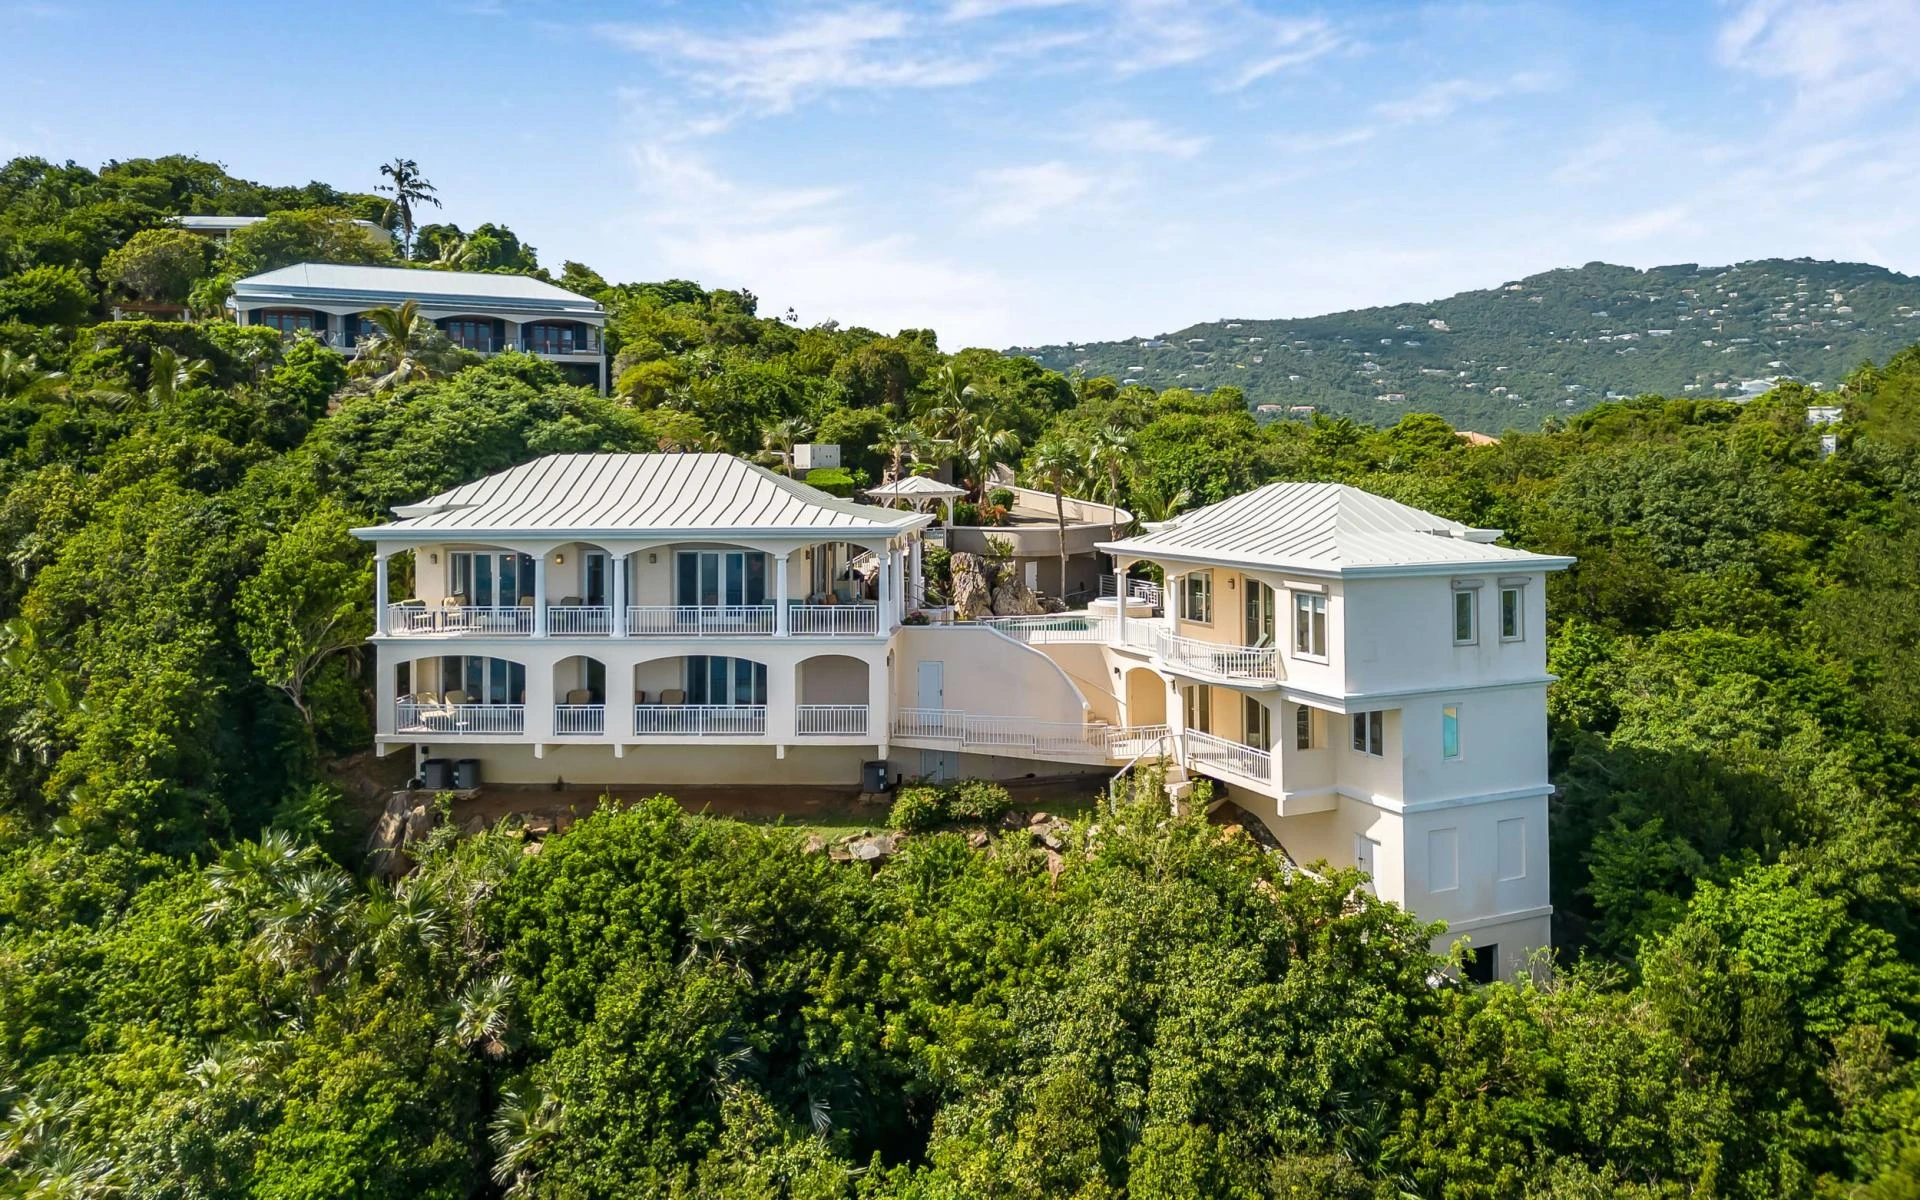
Focus HDR photography on the property’s selling points. Spacious kitchens, luxurious bathrooms, and bright living areas should be captured with the most attention to detail. Proper lighting, combined with HDR, ensures these spaces look inviting. Exterior shots benefit from HDR as well, balancing sunlight and shadows to highlight landscaping, patios, or facades beautifully.
Using these professional HDR photography tips, real estate listings can capture attention and convert viewers into potential buyers. High-quality images communicate value, professionalism, and attention to detail, making properties more memorable in a crowded market.
For real estate professionals seeking expert photography solutions, MediaBoost.VI offers top-tier HDR real estate photography services that ensure your listings stand out.
FAQs
Q1: What is HDR photography in real estate?
A1: HDR (High Dynamic Range) photography combines multiple exposures to capture both dark and bright areas of a scene, resulting in images with enhanced detail and more natural lighting.
Q2: Can I use HDR photography with a smartphone?
A2: Some modern smartphones have HDR modes, but for professional real estate results, a DSLR or mirrorless camera with manual settings is recommended.
Q3: How many HDR images should I take per room?
A3: Typically, 3–7 bracketed exposures per shot work best. This ensures enough detail in shadows and highlights for a professional final image.


Sign in to leave a comment.