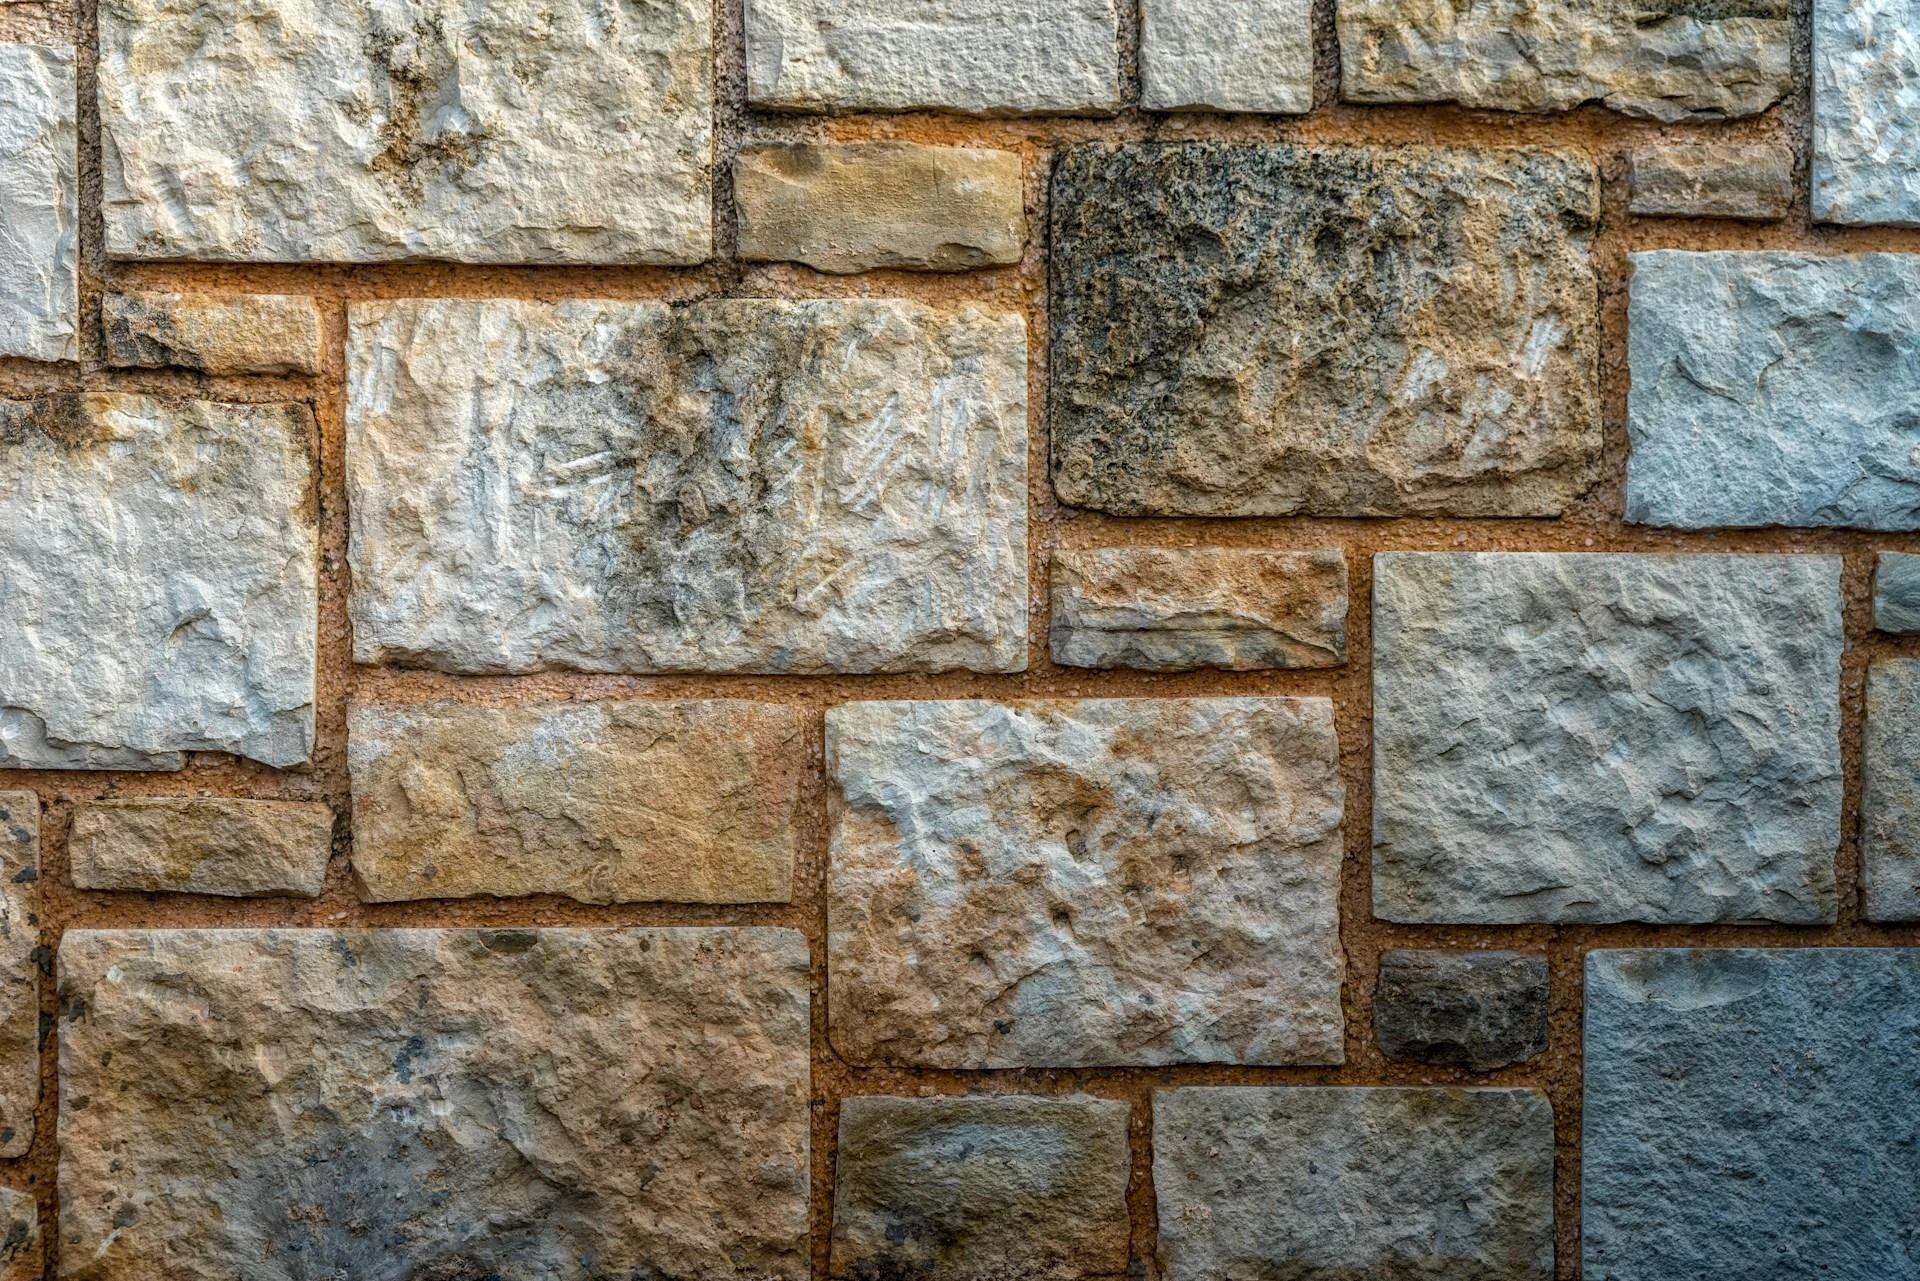
If you've been staring at those beautiful stone veneer samples wondering, "Can I really do this myself?" The answer is a solid yes — with a little patience and the right approach.
DIY stone installation might sound intimidating, but when you break it down into clear steps, it's absolutely doable. And let’s be honest: there’s something pretty satisfying about standing back and thinking, "Yep, I built that."
This beginner stone veneer setup guide will walk you through secure stone placement, step-by-step stone installation, and a few stone mounting techniques that'll help you get professional stonework results — without calling in a crew.
Why DIY Stone Installation Is Worth It
Besides saving a serious chunk of change, doing your own stone installation lets you customize every detail. You’re not just slapping stone on a wall; you’re creating something personal and lasting.
Plus, today's stone veneer manuals and materials are made with DIYers in mind. Lightweight, easy-to-handle decorative stone veneers mean you don't need a forklift to create stylish stone interiors or outdoor accents.
What You’ll Need to Get Started
Before you dive into your first stone project, make sure you’ve got the essentials:
- Stone veneer panels or pieces
- Quality construction adhesive or mortar (depending on the product)
- A trowel
- Level
- Tape measure
- Chalk line
- Masonry saw or grinder (for cutting pieces to size)
- Mixing bucket (if you're working with mortar)
- Safety gear: gloves, goggles, and a dust mask
Take a breath. It sounds like a lot, but most of it is basic stuff you might already have kicking around the garage.
Step-by-Step Stone Installation
Alright, here we go. Your step-by-step stone installation guide to secure stone placement like a pro.
1. Prep Your Surface
This is the least glamorous part but honestly the most important.
Your surface needs to be clean, dry, and stable. For most indoor projects, you can install stone directly onto drywall with the right adhesive. For exteriors or high-moisture areas, you’ll likely need a cement backer board.
Use a stiff brush to knock off any dust or debris. If the wall feels flaky or unstable, reinforce it before you even think about starting.
2. Plan Your Layout
Don't wing it.
Lay out your stone pieces on the ground first. Mix pieces from different boxes to create natural color variation. Play with different layouts until you find something that feels right — balanced but not too "perfect." Stone should feel organic.
Use a chalk line and level to mark your starting point on the wall. Starting from the bottom and working up gives you the cleanest, most secure results.
3. Apply Adhesive or Mortar
If you’re using adhesive:
- Apply a generous amount to the back of each stone panel.
- Use your trowel to spread it evenly.
If you're using mortar:
- Mix it according to the stone veneer manuals or instructions.
- Apply a scratch coat to the wall if required, then butter the back of each stone with mortar.
Either way, make sure you have full coverage. No shortcuts here. You want secure stone placement that’s going to last.
4. Press and Wiggle
Place each stone against the wall and press firmly. Give it a little wiggle as you push it in — this helps the adhesive or mortar grab better.
Check every few stones with your level. A little drift here or there adds character, but you don’t want to end up with a wall that looks like a funhouse.
5. Cut Pieces to Fit
Unless your wall dimensions are magically perfect, you’ll need to trim some stones.
Use a masonry saw or angle grinder fitted with a diamond blade to make clean cuts. Always wear safety gear. Trust me, stone dust is not the seasoning you want in your life.
Cut stones can go in less noticeable areas (like corners or near the floor) to keep the overall look natural.
6. Finishing Touches
Once your stones are up and set (typically after about 24 hours), check for any gaps or loose spots.
Some projects call for grouting between stones, while others leave small gaps for that dry-stacked look. Follow your specific product’s stone veneer manual for best practices.
Give your new stone wall a gentle brush-down to remove dust, and stand back.
You just pulled off DIY stone installation like a boss.
Pro-Level Stone Mounting Techniques for Beginners
Want to take your project from good to great? Here are a few extra tips:
- Mix sizes and shapes: It looks more natural than rows of perfectly matched stones.
- Focus on corners: Start with corner pieces first if you have them. It helps create a seamless look.
- Stagger seams: Avoid lining up seams like bricks. Random, staggered placement feels more organic.
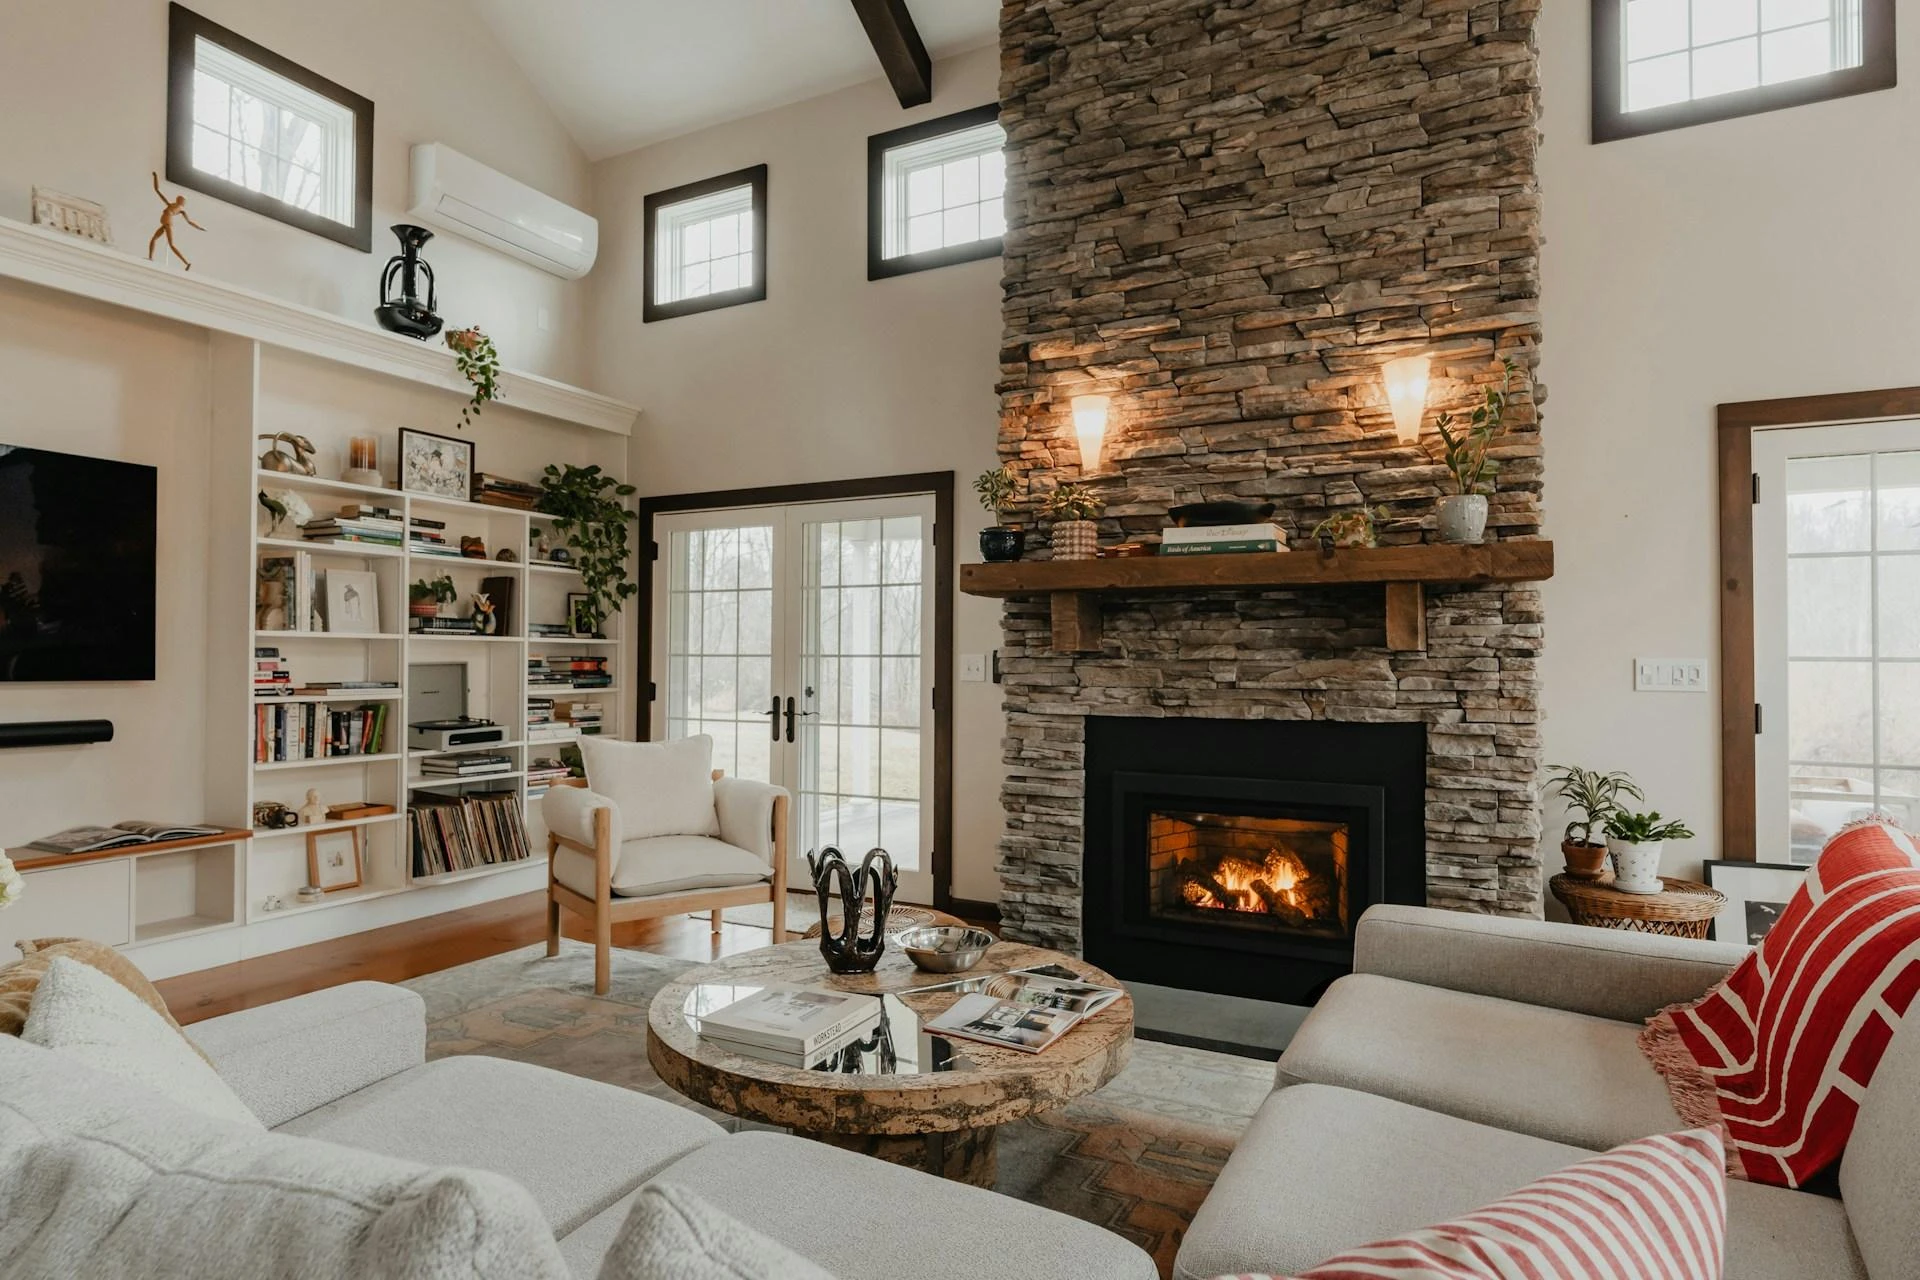
- Highlight texture with lighting: Install wall washers or directional lights to show off all that gorgeous interior stone wall texture you worked so hard on.
Why Stone Veneer Manuals Are Your Friend
Even if you’re feeling pretty confident, don’t skip the installation guides.
Every decorative stone veneer product is a little different. Some need grouting, some don’t. Some work best with specific adhesives. Stone veneer manuals will save you a lot of second-guessing (and trips to the hardware store).
Take an hour to read through your product’s guide before you start. Future you will thank you.
Building Something You Can Be Proud Of
DIY stone installation isn’t just about saving money — it's about building something tangible with your own hands.
Each piece you fit, each panel you secure, makes your home a little more yours. And there’s something incredibly satisfying about that.
With a little planning, the right materials, and a solid step-by-step stone installation approach, even total beginners can pull off professional stonework that’ll make guests ask, "Who did this for you?"
You can just smile and say, "Oh, just a little weekend project."
If you're looking for faux stone panels and stone veneer siding you can trust to deliver gorgeous results, check out Stone Selex and Canyon Stone Canada. They offer a wide range of styles, colors, and textures that make it easy to find your perfect match. Whether you're tackling an outdoor facelift or creating a cozy interior feature wall, they’ve got you covered.
https://canyonstonecanada.com/Installation/Manuals
https://stoneselex.com/brick-and-stone/Dry-Stack-Stone-0615
https://canyonstonecanada.com/rockstone/rockwalls/Rocky-Ledge


Sign in to leave a comment.