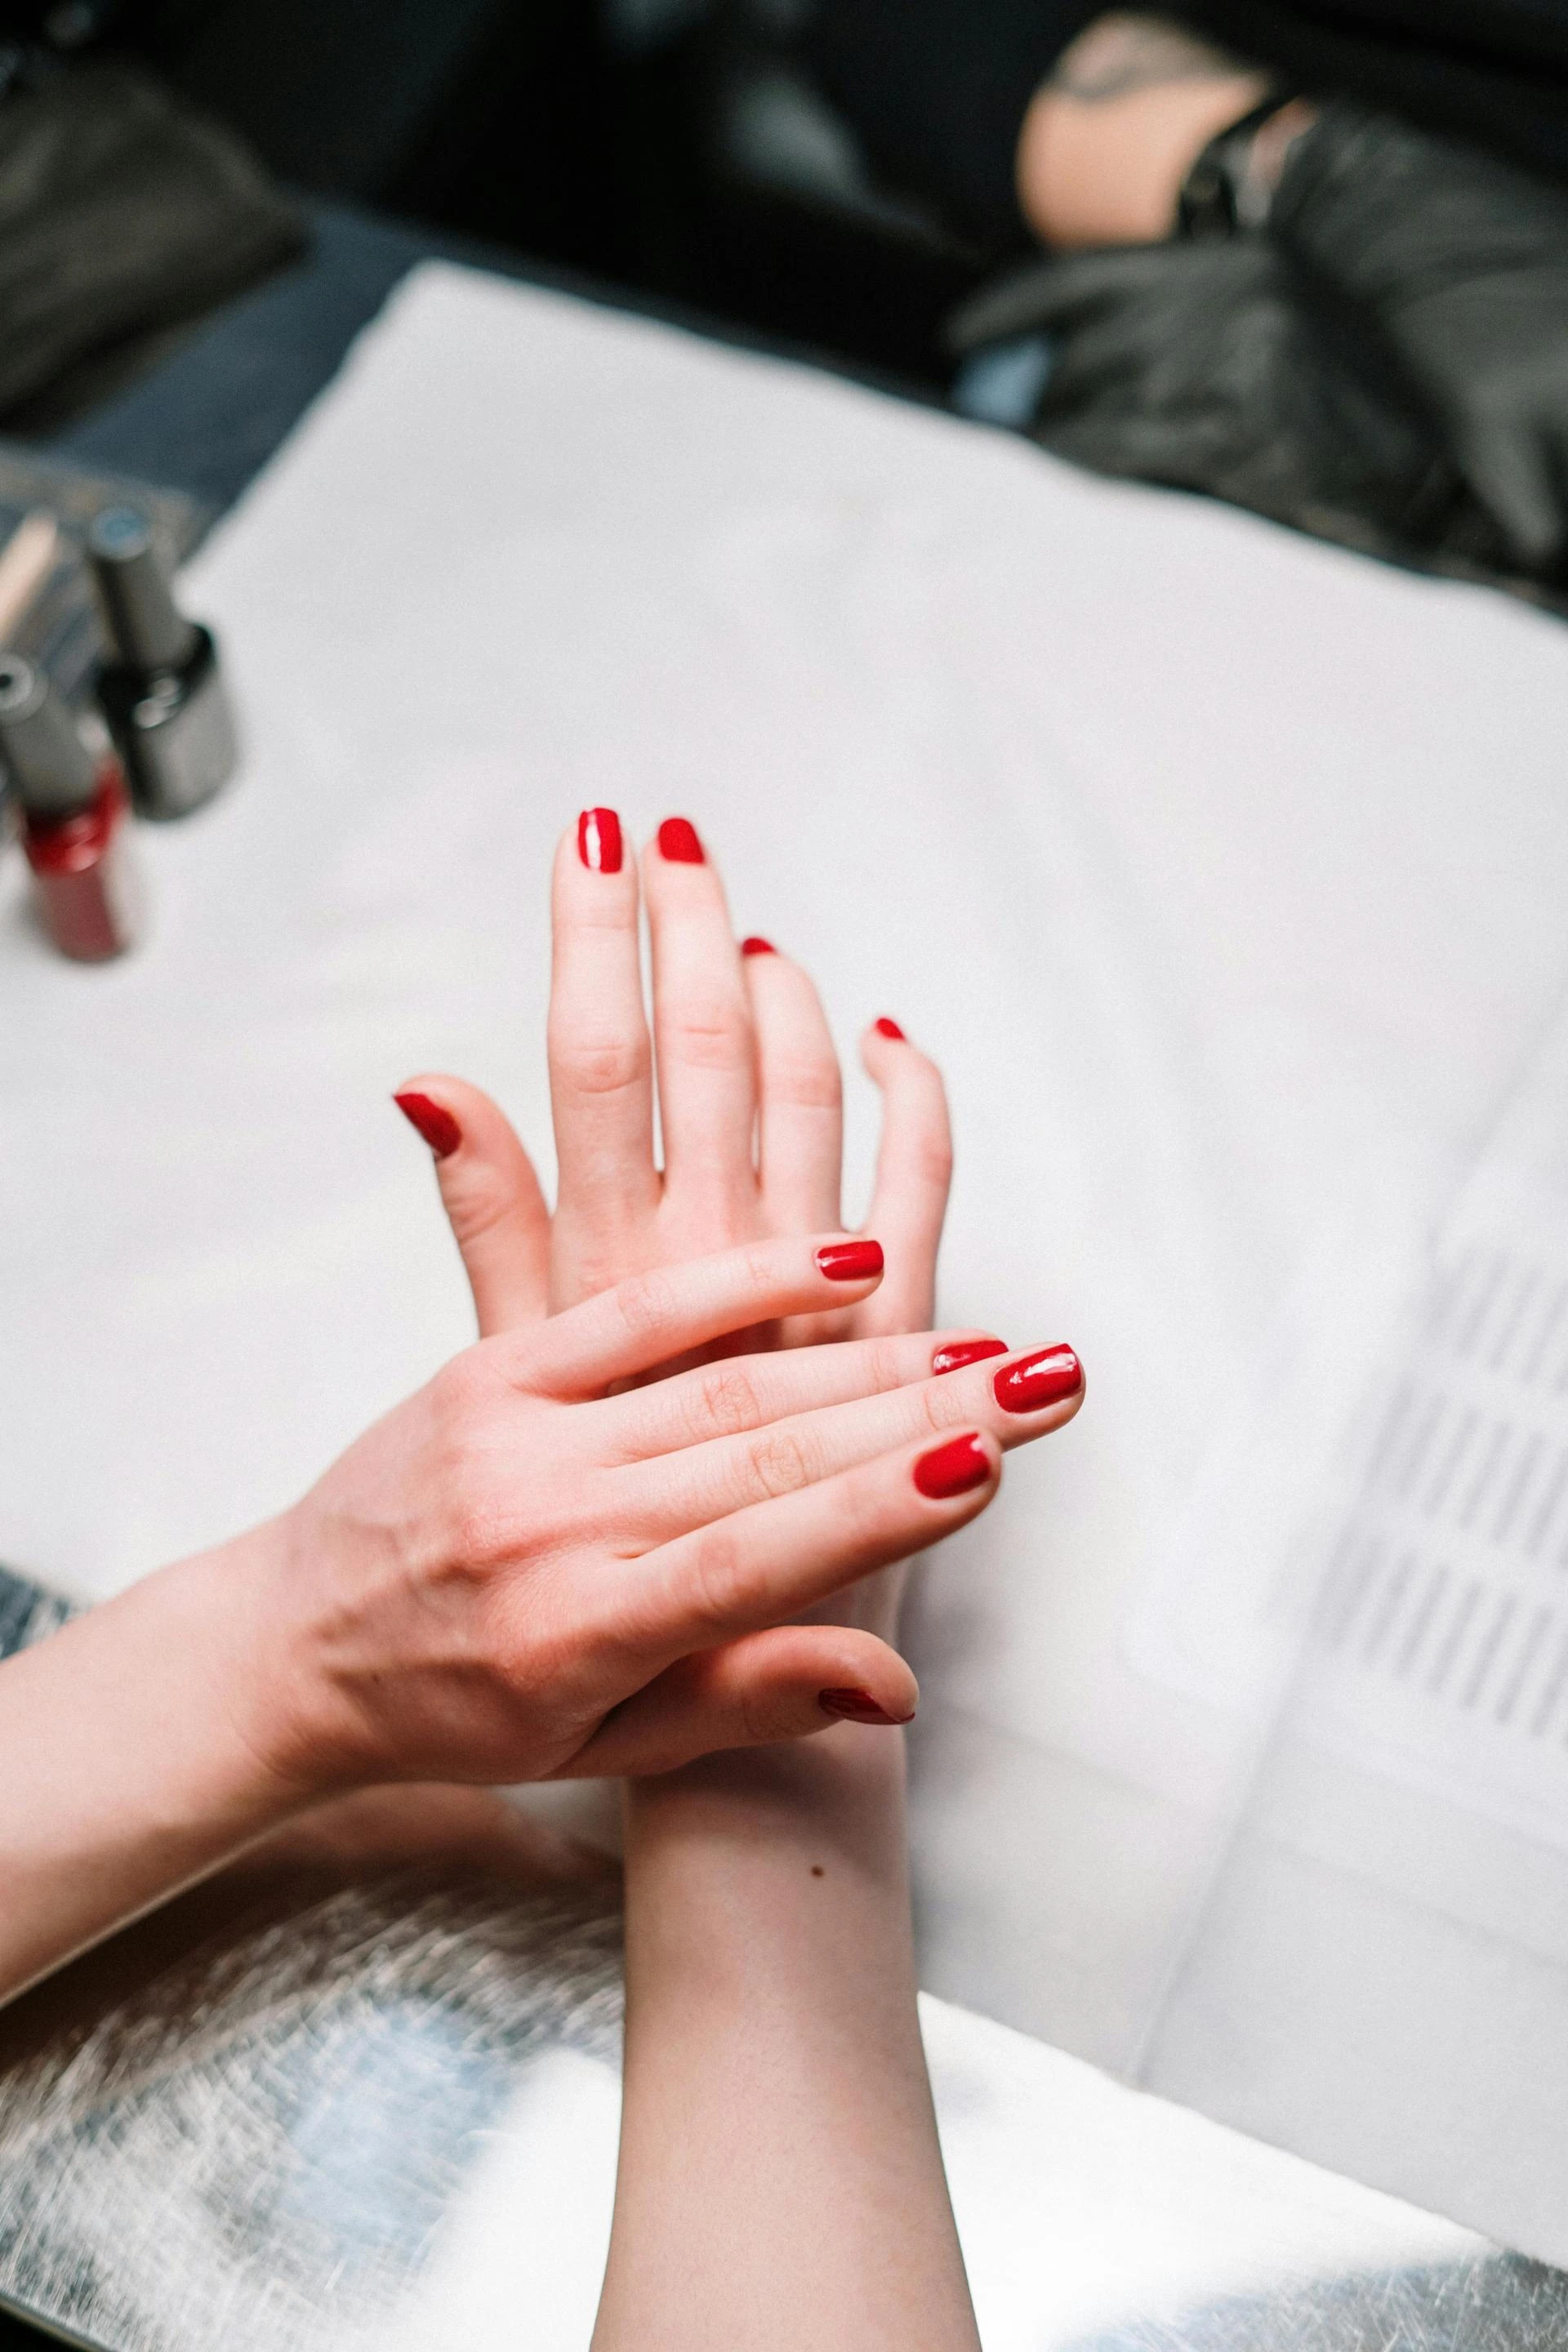
There is something undeniably boosting about a fresh manicure, but you don't need to visit a salon every two weeks to keep your hands looking polished. Achieving professional results at home is entirely possible with the right tools and a bit of patience.
By following a specific order of operations—shaping, prepping, and layering—you can achieve a high-shine, chip-resistant finish that looks like you walked straight out of a luxury nail bar.
1. Prep Like a Pro
The secret to a long-lasting manicure isn't the polish; it's the prep work. If the nail surface isn't clean, the polish won't bond.
- Remove Old Polish: Even if your nails look clean, swipe them with a lint-free cotton pad soaked in non-acetone remover to strip away natural oils.
- Shape with Intention: File in one direction rather than sawing back and forth, which can cause peeling. Match your nail shape to your cuticle shape for the most natural, flattering look.
- The Cuticle Care: Apply a drop of cuticle remover, wait 30 seconds, and gently push back the skin with an orange wood stick or a metal pusher. Never cut your cuticles; this can lead to infection and uneven growth.
2. The Foundation: The Base Coat
Skipping base coat is the number one cause of "yellowing" and premature chipping. The base coat acts as a double-sided adhesive: it grips the nail plate while providing a smooth surface for the color.
Pro Tip: If you have ridges, look for a "ridge-filling" base coat to create a glass-like canvas.
3. Painting Technique: The Three-Stroke Rule
The most common mistake at home is using too much polish. Thick layers take hours to dry and are prone to "smushing."
- The Center: Place a small bead of polish at the center of the nail, slightly above the cuticle, and push it down toward the base before swiping to the tip.
- The Sides: Swipe once down the left side and once down the right side.
- Cap the Edge: This is the "salon secret." Run the brush horizontally across the very tip of your nail. This "caps" the free edge, significantly preventing chips.
4. The Finish: Seal and Shine
Your top coat is your armor. It protects the color from UV rays and daily wear and tear.
- Quick-Dry vs. High-Shine: Use a quick-dry top coat if you're in a rush, but for that "gel-like" look, a thick, high-shine top coat is best.
- The Clean Up: Dip a small, flat concealer brush into nail polish remover to "erase" any polish that got on your skin or cuticles. This creates the crisp, clean lines seen in professional work.
5. Maintenance: The "After-Care" Routine
A manicure only stays "salon-worthy" if the skin around it is hydrated.
- Oil is Everything: Apply cuticle oil every single night. It keeps the polish flexible, meaning it will bend with your nail instead of cracking.
- Gloves are Mandatory: If you’re doing dishes or cleaning, wear rubber gloves. Water is the enemy of a manicure; it causes the nail to expand and contract, which pops the polish right off.


Sign in to leave a comment.