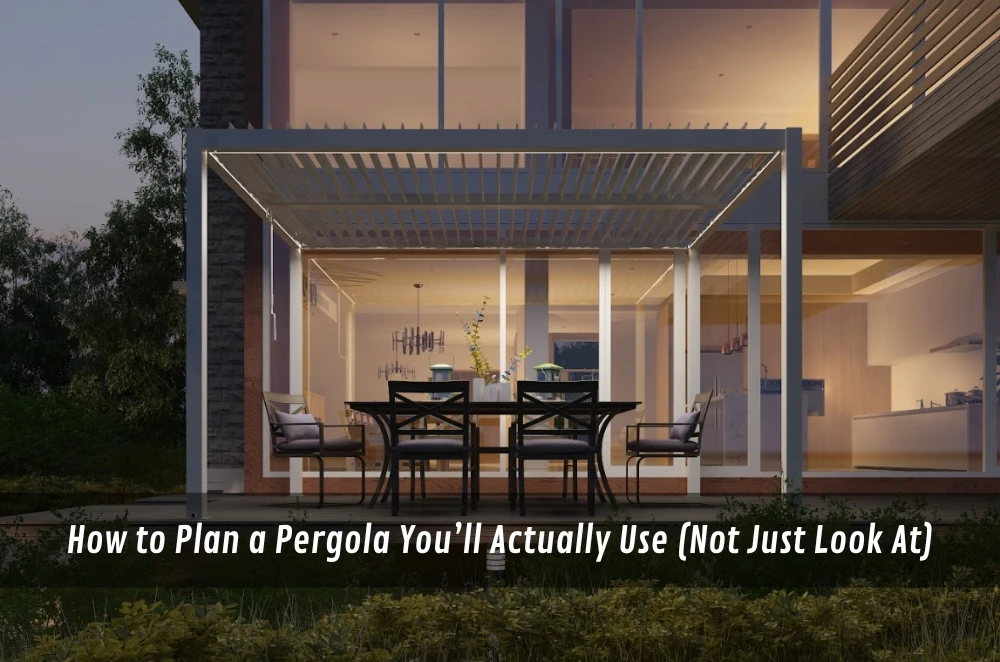
Most “bad pergola” stories aren’t about the build falling over. They’re about the space feeling wrong: too hot, too bright, too windy, too wet, or oddly cramped once the furniture goes in.
Australia’s climate doesn’t forgive guesswork for long.
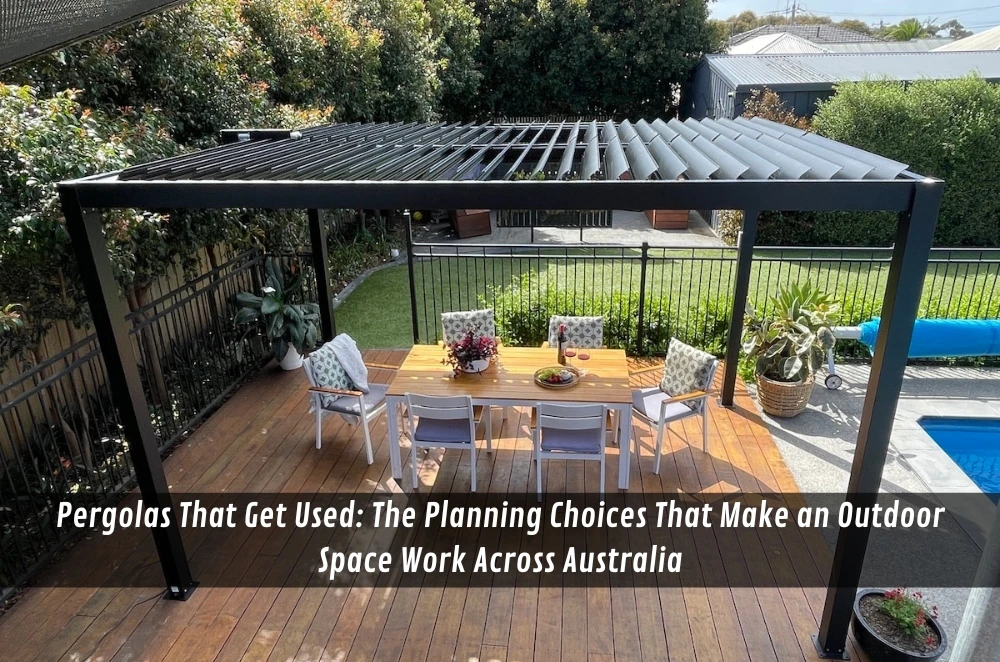
If you’re weighing outdoor shade structure options for modern backyards, and you plan for real shade, real rain, and real day-to-day use, you’ll end up with an outdoor area that earns its keep.
This guide is for homeowners and small premises anywhere in Australia who want an outdoor space that works in normal life, not just in the brochure photo.
What a pergola is meant to do (and why some never get used)
A pergola is basically a comfort tool.
It’s there to make being outside the easy option—after work, on weekends, while kids are doing their thing, or when you’ve got people over.
When it misses the mark, it’s usually because it was designed as a “feature” first and a “space” second.
You get a nice shape, then you realise the sun lands right on the table at 4 pm, or the wind funnels through the only spot you can place chairs.
A good pergola supports a routine.
If it doesn’t help you do something you already want to do—eat outside, read, host, work, protect an entry—it becomes visual decoration.
The decisions that matter more than colour and style
Before you get lost in the finishes, lock in the boring stuff.
The boring stuff decides whether you’ll use it weekly or twice a year.
Say the purpose out loud
One sentence. No fluff.
“This pergola is for family dinners.”
“This pergola is for a dry spot near the back door.”
“This pergola is for a small customer seating area that isn’t blasted by the sun.”
That sentence will stop a lot of bad decisions.
Work with the sun, not against it
In plenty of Australian backyards, the harshest sun shows up when you actually want to use the space—late afternoon into early evening.
If you’re shading the wrong patch of ground, you’ll keep moving chairs, then you’ll stop bothering.
Walk outside at the times you care about.
Where does glare hit? Where does the shade fall? What would you avoid sitting in?
Don’t ignore wind behaviour
Some blocks are calm. Others act like a wind tunnel because of fences, side paths, and neighbouring buildings.
You don’t need to engineer the entire yard, but you do need to notice whether the pergola location is where wind naturally gathers speed.
Decide how “weatherproof” you want to be
People often say they want “a covered pergola” but really mean “I’d like to sit out there if it drizzles.”
Those are different outcomes.
More open designs feel lighter and breezier.
More covered designs are used more often, but you have to plan for light and water runoff so they don’t feel cave-like or drip onto the walkway.
Treat water like part of the design
Water doesn’t disappear; it goes somewhere.
If it runs off onto the path you use daily, or splashes where you place chairs, you’ve created a small, constant irritation.
Common mistakes that cause regret later
Mistake 1: Guessing furniture fit.
A table for six plus clearance to move behind chairs takes up more room than people think.
Mistake 2: Putting posts where people walk.
A post can be “fine” structurally and still be annoying forever if it lands in the natural path from the door to the seating.
Mistake 3: Making the shade land next to the seating zone.
If the table is in the sun, you’ll chase shade with chairs like a game.
Mistake 4: Forgetting power and lighting until the end.
If you want the pergola used at night, plan lighting and power before you build.
Mistake 5: Choosing materials without thinking about cleaning and exposure.
Coastal air, high UV, trees that drop sap—these change how much upkeep you’ll actually do.
Mistake 6: Treating approvals as a last-minute detail.
Rules vary by council and site, and late surprises can force redesigns.
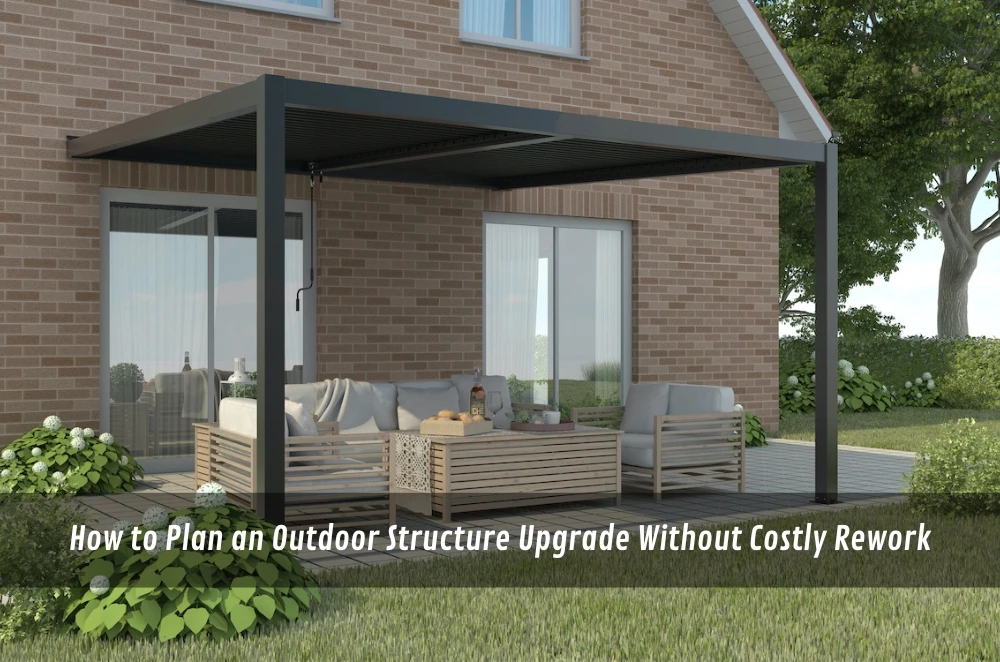
A simple planning and quoting approach that keeps things sane
You don’t need a 20-page design pack to get a good outcome.
You need a one-page brief that explains what you want, what you can’t tolerate, and what the site is like.
Step 1: Pick three to five “must-haves”
Examples that actually help:
- shade on the seating area in the late afternoon
- usable in light rain
- fits a table for X with walk-around space
- low-maintenance finish
- privacy from a particular neighbour's angle
- clear access from the back door
Once you pick these, the rest becomes easier.
If you want a simple way to organise your measurements, material preferences, and must-haves before you speak to installers, the Unique Pergolas Australia is a handy reference.
Step 2: Measure like someone who lives there
Measure the footprint, then add the “human space”: chair pull-out, walking past a BBQ, door swing space, and where you’ll stash a small cabinet or bin if needed.
A pergola that’s technically big enough can still feel tight if the movement space wasn’t considered.
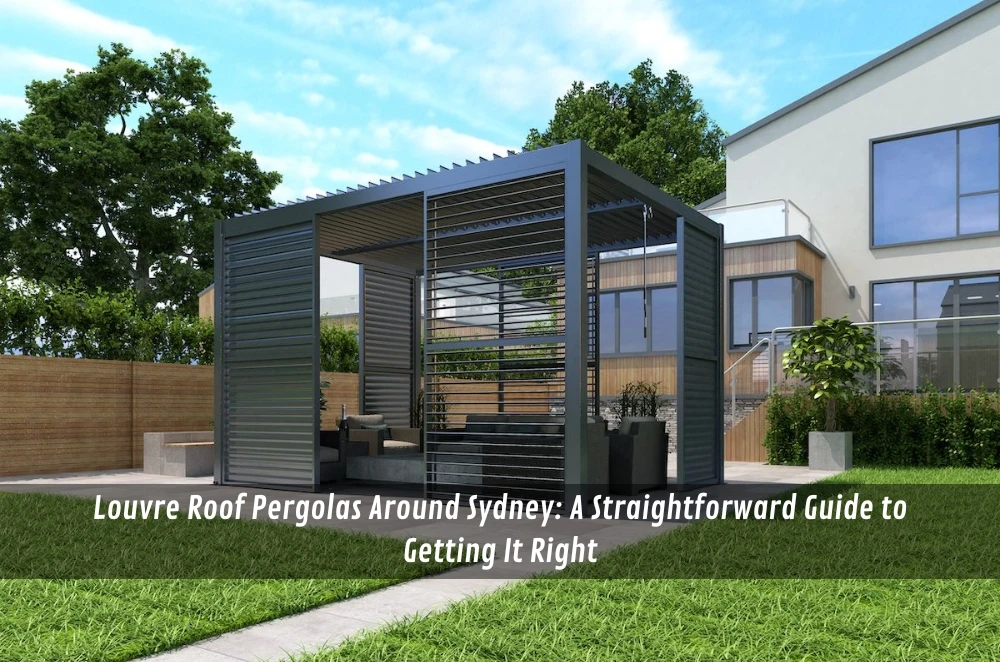
Step 3: Decide your openness level
Be honest about how you use the outdoors.
If you love the breeze and don’t mind packing up at the first sign of drizzle, you can stay more open.
If you want it to be usable more often, you’ll generally lean more covered—then you plan light, runoff, and comfort so it doesn’t feel heavy.
Step 4: Make quotes genuinely comparable
Ask each provider to confirm:
- What’s included (structure, posts, footings, roof, finishing)
- Access assumptions and site prep allowances
- What “handover” means (cleanup, touch-ups, basic maintenance notes)
- Any exclusions that could become a variation later
Cheaper doesn’t always mean worse.
But if two quotes are priced on different assumptions, comparing the numbers is pointless.
Local SMB mini-walkthrough
A suburban café wants a small outdoor area that isn’t unusable the moment the weather changes.
They start with seating size and circulation, then position the pergola to avoid late-afternoon glare on tables.
Because wind runs down a laneway beside the shop, the layout is chosen to calm that airflow rather than funnel it.
Lighting is planned early so the space feels safe and comfortable in the early evening.
The build is staged to keep a clear path for customers, with temporary barriers and tidy work zones.
After completion, they set a quick cleaning rhythm so the structure stays presentable through busy periods.
Operator experience moment
Pergola projects don’t usually fail on the big decisions—they fail on the “half-metre” decisions.
Shade lines that miss the table, drips that land on the path, a post that sits exactly where people naturally walk.
When the plan includes a simple walkthrough—door to table, table to BBQ, BBQ to bin—those issues show up early.
When it’s guessed, people end up rearranging furniture for years to work around the structure.
Next 7–14 days: first actions that get you moving
Days 1–2: Write the purpose sentence and your must-haves.
Days 3–4: Check sun and wind at the times you’ll use the space (morning and late afternoon).
Days 5–7: Measure with furniture and walking clearance in mind.
Days 8–10: Decide how open vs covered you want the pergola to be.
Days 11–14: Request quotes using the same one-page brief so you can compare properly.
Practical Opinions
Design for comfort first, then make it pretty.
If water and glare aren’t handled, the space won’t get used.
A clear brief beats a “good price” every time.
Key Takeaways
- The best pergolas are designed around use, not photos.
- Sun, wind, and water runoff decide whether the space is comfortable.
- Most regrets come from tight layouts, missed shade lines, and unclear scope.
- A one-page brief makes quotes comparable and keeps the build predictable.
Common questions we hear from businesses in Australia
Q1) Attached or freestanding—what’s better?
Usually, attached works well when you want an easy indoor–outdoor flow, and you’re shading a doorway or living area connection.
A practical next step is to map your main walking path and see which option keeps that path natural.
In most cases across Australian suburbs, eaves, drainage, and setbacks influence what’s practical.
Q2) How do we keep it comfortable in summer?
It depends on orientation, how much cover you choose, and whether the design allows airflow without baking the seating area.
A practical next step is to identify where late-afternoon sun hits and design shade to land on the table zone.
In many Australian climates, glare control is as important as temperature.
Q3) What do people usually forget in the budget?
In most cases, it’s the “use it at night” items—lighting, power, and any site prep that becomes obvious once footings are discussed.
A practical next step is to list what you’ll do out there after dark and what needs power to support it.
Across Australia, access and ground conditions often affect footing and labour allowances.
Q4) How do we avoid messy quote comparisons?
Usually, the mess comes from different assumptions about footings, finishing, and what handover includes.
A practical next step is to send every provider the same one-page brief and ask for inclusions/exclusions in writing.
In most cases, local site constraints and council expectations shape the scope more than people expect.


Sign in to leave a comment.