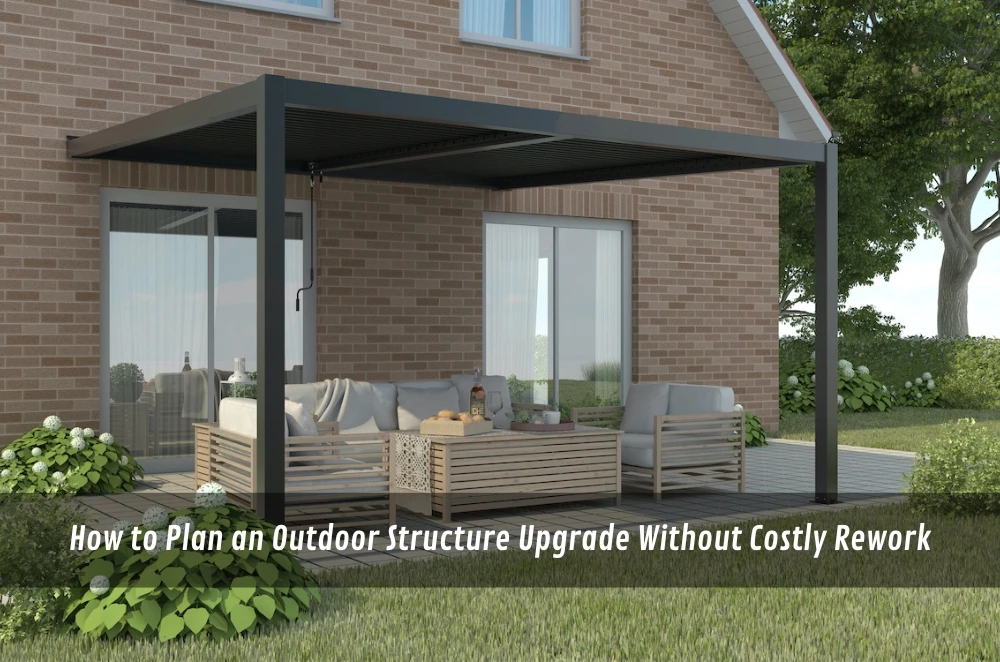
Outdoor upgrades look deceptively simple until the details land: fall direction, drainage, setbacks, wind exposure, roof runoff, and where the morning sun actually hits.
A bit of planning up front saves the double-handling that turns a “quick install” into weeks of delays and unexpected variations.
This guide walks through a practical way to scope an outdoor structure project so the design suits the home, the site behaves, and quotes are genuinely comparable—especially if you’re trying to find local pergola builders across Australia without getting lost in mismatched inclusions.
It’s written for Australian conditions, where weather swings, sun angles, and compliance requirements can vary by suburb.
Start with the job-to-be-done
Before comparing materials or shapes, define the outcome in plain language.
A structure that looks great on a brochure can still fail the real test: making the space comfortable and usable most days of the year.
Ask a few “use” questions and write the answers down:
- What’s the primary purpose? Shade for afternoons, rain cover for BBQs, a dry walkway, a sheltered outdoor dining spot, or a poolside retreat.
- Who uses it and when? Kids after school, weekend entertaining, a quiet coffee spot, or a tenant-friendly outdoor area.
- What are the must-haves vs nice-to-haves? Lighting, ceiling fan, privacy screening, integrated guttering, heaters, or a specific roof style.
- What is the “deal-breaker”? Heat build-up, glare, water dripping onto the threshold, blocked access, or loss of garden beds.
Clarity here prevents a common trap: choosing a design first, then discovering the space doesn’t perform.
The three constraints that decide everything
Most decisions come down to three realities: site, compliance, and budget.
If you handle these early, the rest of the project becomes a set of manageable choices.
1) Site: sun, slope, and water never negotiate
Walk the area at two different times of day if you can.
Australian sun can turn a “shady corner” into an oven depending on orientation and reflective surfaces.
Key checks:
- Sun direction and heat reflection: West-facing spaces often need deeper shade and smarter roof choices. Pale paving, glass, and light-coloured walls can bounce heat into the zone.
- Slope and drainage: Even small falls can send roof runoff toward doorways or garden beds. Think about where water will land and how it will exit.
- Ground conditions: Sandy soils, reactive clay, and tree roots affect footing choices and long-term movement.
- Access for installation: Side access width, overhead lines, and where materials will be staged can change labour and timeline.
- Existing structures: Eaves, fascias, stormwater points, and windows often dictate attachment options.
A tidy sketch with basic measurements (length, width, heights, and any obstructions) is more useful than a dozen “approximate” photos.
2) Compliance: local rules vary, so treat assumptions as risky
Approvals and requirements can differ between councils and even between property types in the same area.
Instead of trying to “guess the rules”, plan to confirm what applies to the specific address early.
Things that commonly influence requirements:
- Setbacks to boundaries and neighbours
- Roof height, total area, and whether the structure is attached
- Bushfire, coastal exposure, or wind classification considerations
- Stormwater management and where roof runoff is directed
- Heritage overlays, strata requirements, or developer covenants
The practical approach is to make compliance part of the brief, not an afterthought.
That keeps design choices grounded in what can actually be built.
3) Budget: plan for the full scope, not just the frame
The biggest budget surprises come from “extras” that weren’t treated as part of the project.
If you want quotes you can trust, include the likely scope items in your assumptions.
Common inclusions to think through:
- Electrical (lighting, fans, outdoor power, switching)
- Drainage and stormwater connections
- Site preparation (removal of old structures, concrete works, leveling)
- Upgrades needed for attachment points (fascia/eave condition, structural supports)
- Finishes (privacy screens, blinds, feature posts, staining/painting)
A realistic budget is less about a single number and more about understanding where costs can move.
Materials and roof choices that suit Australian conditions
Material and roof selection should match the site realities, not just the look.
In many parts of Australia, heat control and weather exposure matter as much as aesthetics.
Frame options: timber vs aluminium
Timber can deliver warmth and character, and it suits homes where natural texture is part of the design language.
It may require more ongoing maintenance depending on exposure, finish quality, and local conditions.
Aluminium often appeals for its low-maintenance profile and clean lines.
It can be a sensible choice for coastal areas or busy households where repainting and refinishing isn’t part of the plan.
Neither option is automatically “better”; the right choice depends on the environment, desired look, and appetite for upkeep.
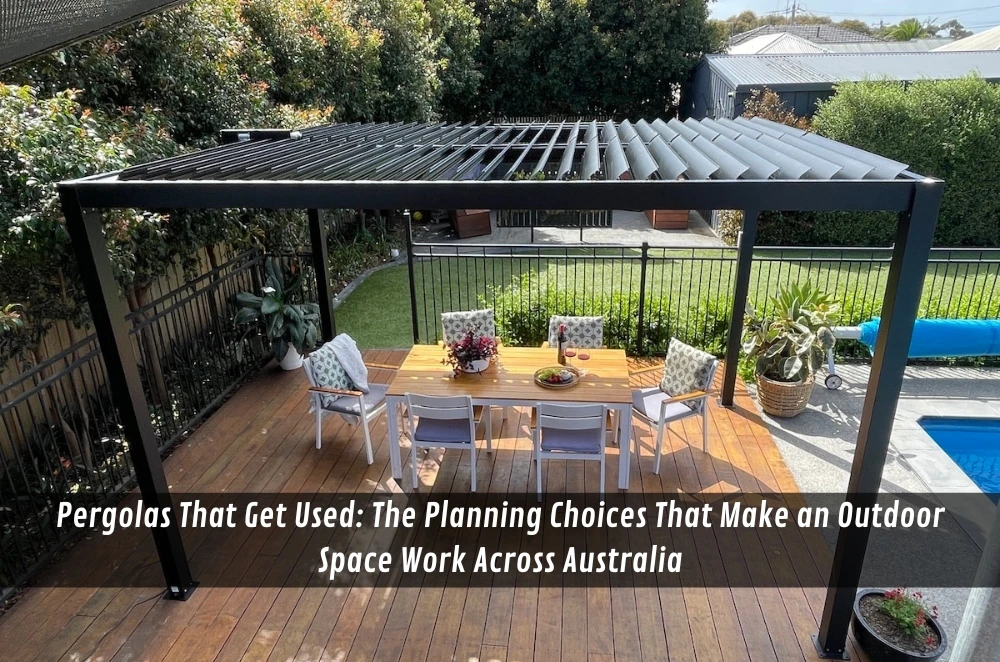
Roof options: think comfort first
Roof decisions shape how the space feels day-to-day:
- Solid roof (insulated or similar): Often best for rain cover and temperature control, especially for entertaining areas used year-round.
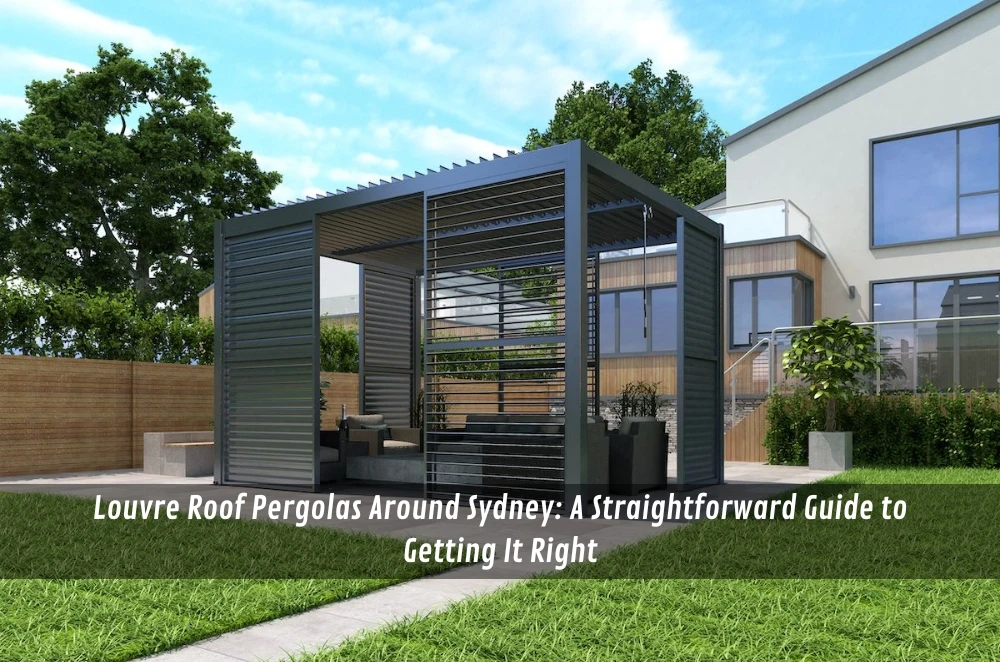
- Louvred roof systems: Flexible for sun and airflow, but performance depends heavily on design, installation quality, and how water is managed.
- Polycarbonate or translucent panels: Useful for light, but heat and glare can become issues without smart placement and suitable product choices.
- Guttering and runoff control: Essential if you don’t want water dumping onto paths, garden beds, or thresholds.
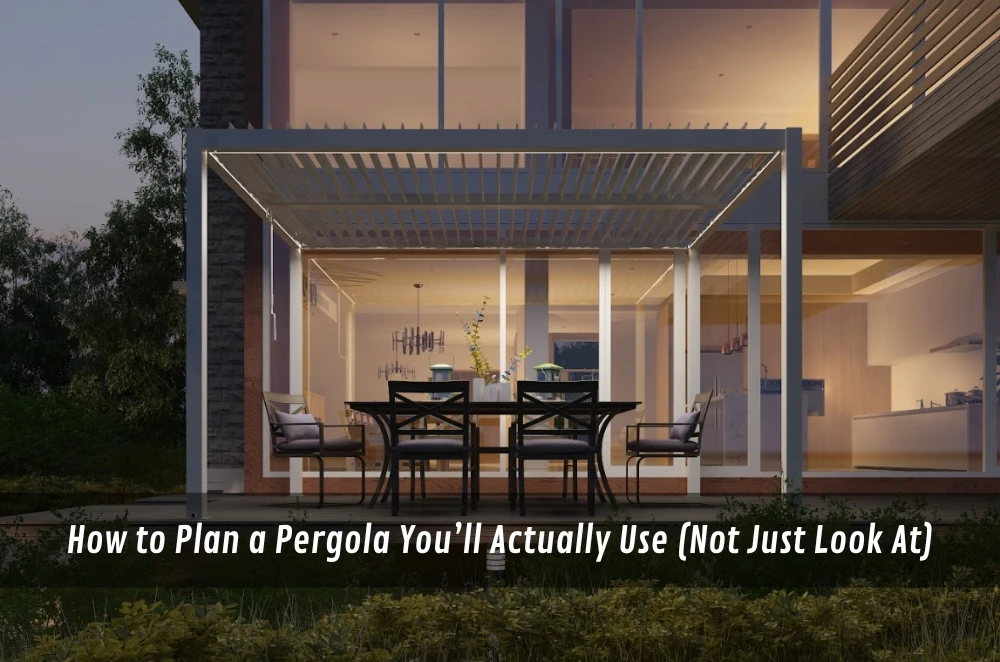
If the space is meant to extend indoor living, prioritise comfort metrics: shade coverage, airflow, and protection during typical weather for that location.
Common mistakes that blow out timelines
Most “project pain” comes from avoidable misalignment early on.
These are the issues that tend to cause redesigns, delayed approvals, and variations mid-build.
- Designing around looks, not use. A striking form that doesn’t block late-afternoon sun won’t be used as intended.
- Vague measurements and unclear heights. Small errors compound quickly when roof fall, attachment points, and drainage are involved.
- Ignoring stormwater planning. Water will land somewhere; if you don’t choose where, it will choose for you.
- Not deciding attached vs freestanding early. This changes engineering, aesthetics, and how loads transfer.
- Under-scoping electrical and finishes. Adding lighting or screening later can be costly and messy.
- Comparing quotes that aren’t comparable. If one quote includes footings and stormwater and another doesn’t, the cheaper number is an illusion.
- Assuming approvals are “standard”. Requirements can vary; treating them as universal increases rework risk.
A useful mindset is to treat the project as a small system: structure, roof, water, power, and access all interact.
Decision factors when choosing an installer
Choosing an installer is less about the most persuasive pitch and more about who can translate your site realities into a buildable scope.
The best outcomes usually come from clear documentation, transparent assumptions, and a process that reduces surprises.
Here’s what to compare when you’re talking to potential installers:
The brief quality test
If you describe the project and the response is “no worries, we’ll sort it on the day,” treat that as a warning.
A good installer asks questions that sound picky, because the details are what protect your timeline and budget.
Ask:
- What site measurements do you need before quoting?
- How will you handle fall direction, guttering, and runoff?
- What assumptions are you making about ground conditions and footings?
- What’s included in the scope and what’s excluded (in writing)?
- How do you manage variations if something unexpected turns up?
- What are the expected lead times for materials and fabrication?
Quote comparability checklist
To compare quotes fairly, check whether each quote clearly states:
- Exact dimensions and heights
- Material specs (not just “powder-coated” or “treated timber”)
- Roof type and insulation details (if applicable)
- Guttering and stormwater approach
- Footings and slab interfaces
- Electrical inclusions (or exclusions)
- Finish scope (screens, painting/staining, debris removal)
If it helps to see what a well-scoped enquiry looks like before you start calling around, the Unique Pergolas project checklist can act as a quick brief template.
Operator Experience Moment
In practice, the smoothest jobs are the ones where the homeowner can answer simple questions on day one: what the space needs to do, where water should go, and what “done” looks like.
When those answers are fuzzy, everyone defaults to assumptions, and assumptions are where variations are born.
A short written brief doesn’t make the project complicated.
It makes conversations clearer, quotes cleaner, and decisions faster.
Practical Opinions (exactly 3 lines)
Prioritise comfort and water control over decorative features.
If two options look similar, choose the one with clearer scope and fewer assumptions.
Pay for the planning you’ll wish you had when weather and lead times tighten.
A simple 7–14 day first-actions plan
These steps are designed to move the project forward without locking you into premature decisions.
They also help you avoid the “quote spiral” where you collect numbers that don’t actually compare.
Days 1–3: Capture the site reality
- Take basic measurements and note any obstructions (windows, doors, eaves, downpipes).
- Photograph the area morning and late afternoon to understand sun and shade patterns.
- Mark where you’d prefer roof runoff to land and how it could reach stormwater.
Days 4–7: Build a one-page brief
- Write the job-to-be-done, must-haves, nice-to-haves, and deal-breakers.
- Decide attached vs freestanding as a starting preference (not a final commitment).
- List likely inclusions: lighting, fan, screening, drainage, concrete works.
Days 8–14: Speak to installers with the same brief
- Ask the same core questions of each installer so responses are comparable.
- Request that assumptions and exclusions are written into the quote.
- Treat timeline and process clarity as decision criteria, not just price.
Even if you change direction later, this plan gives you a structured baseline to work from.
Local SMB mini-walkthrough (Australia)
A small Australian business with a street-facing tenancy wants a covered outdoor waiting area that still feels open and welcoming.
They start by defining peak-use times (weekday mornings and late afternoons) and identifying glare from west sun on the glass frontage.
They confirm whether signage, lighting, and roof height will trigger extra permissions under local rules.
They choose a roof approach that balances weather cover with airflow so the space doesn’t trap heat.
They plan runoff so water doesn’t sheet across the footpath during heavy rain.
They request quotes that include footings, drainage, and electrical from the outset.
They pick the installer who documents assumptions clearly and schedules around lead times, not best-case scenarios.
Key Takeaways
- Start with the “use outcome” before choosing a design or material.
- Site realities (sun, slope, runoff, access) drive the best decisions.
- Treat compliance as location-specific and confirm early.
- Compare quotes by scope clarity and assumptions, not headline price.
Common questions we hear from Australian businesses
Do we usually need approval for an outdoor structure at a shopfront or small commercial site?
Usually it depends on the location, size, height, and how the structure interacts with the frontage and public areas.
A practical next step is to prepare a one-page scope (dimensions, height, roof type, and runoff plan) and check what applies to the specific address before ordering materials.
In many Australian councils, small changes can shift requirements, especially when footpaths, signage, or heritage considerations are involved.
What’s the usual difference between attached and freestanding options?
In most cases attached structures can simplify the footprint but increase the importance of how loads transfer into the existing building and how water is managed at the junction.
A practical next step is to ask an installer to explain the attachment method and runoff approach in writing so you can compare alternatives.
Across Australia, different housing types and tenancy buildings can make one approach more straightforward than the other.
How can we avoid quotes that change dramatically after work begins?
Usually the best protection is a clear brief and a quote that spells out assumptions, exclusions, and how variations are handled.
A practical next step is to request a scope checklist that includes footings, stormwater, electrical, and finishes so nothing important is “TBC”.
In Australia, site access and weather windows can also affect labour planning, so ask how the schedule is built.
Is it better to prioritise heat control or rain cover?
It depends on how the space will be used and what typical weather looks like in that specific area.
A practical next step is to document the peak-use times and whether west sun, glare, or driving rain is the bigger problem, then select roof options accordingly.
In many Australian locations, comfort is a year-round issue, so balancing shade, airflow, and runoff tends to outperform single-purpose choices.


Sign in to leave a comment.